Proudly powered by Ogi Pro

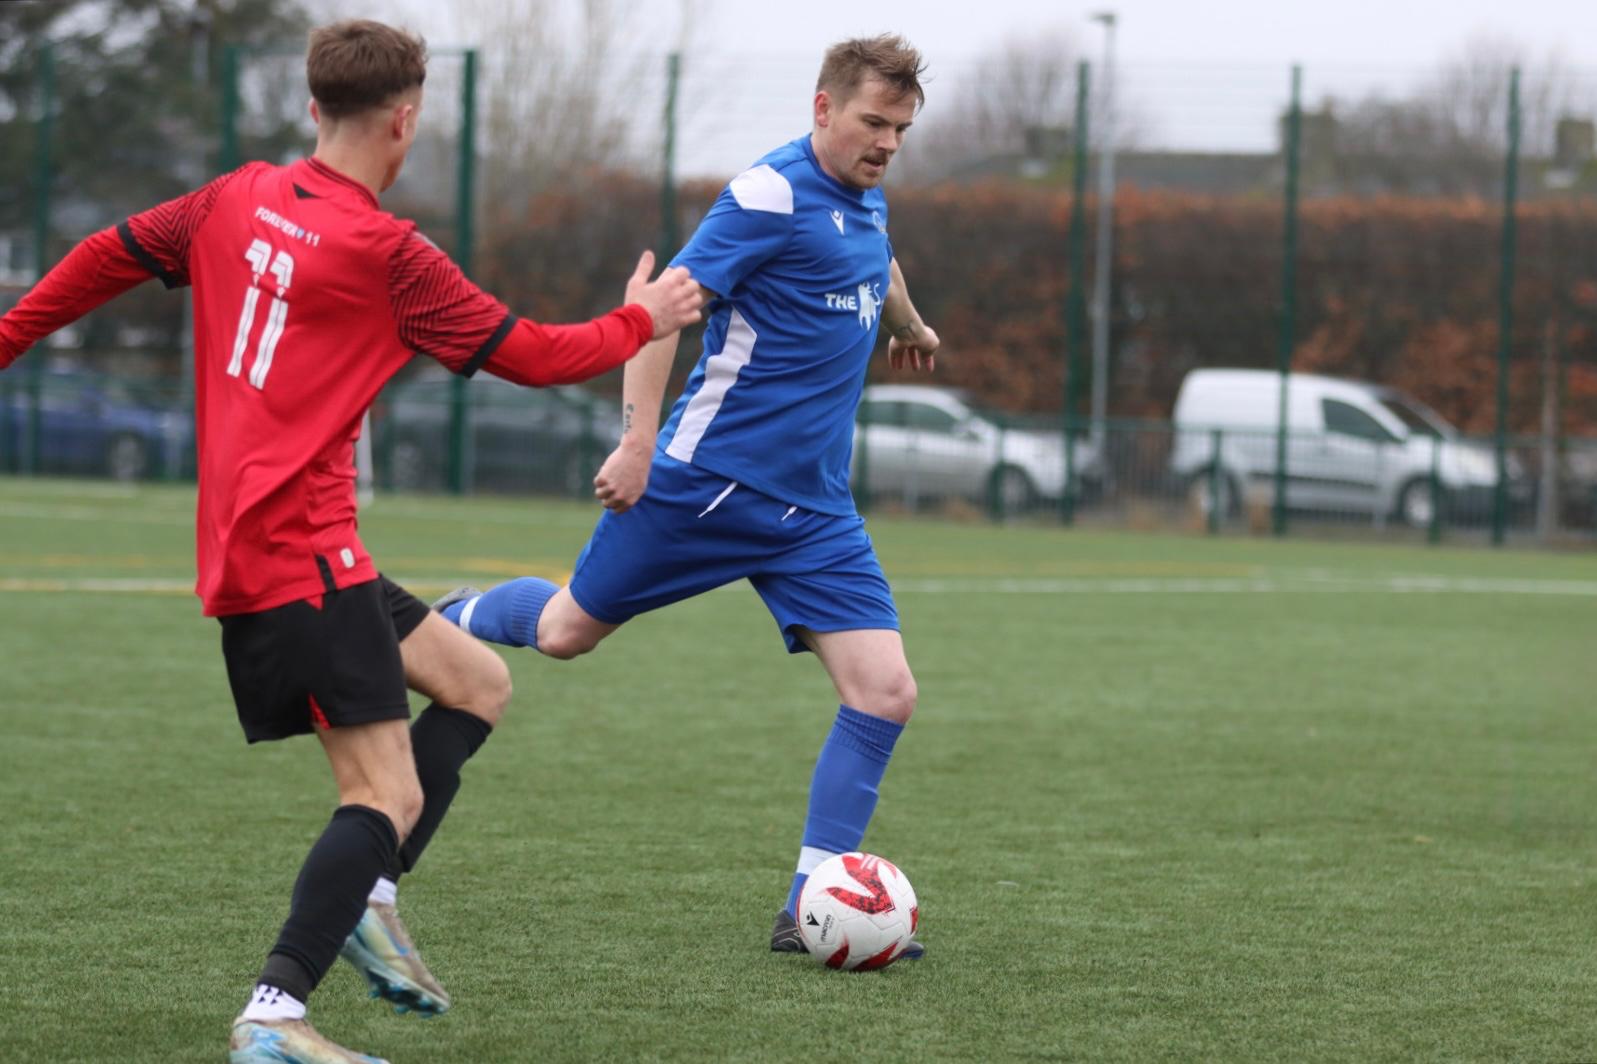
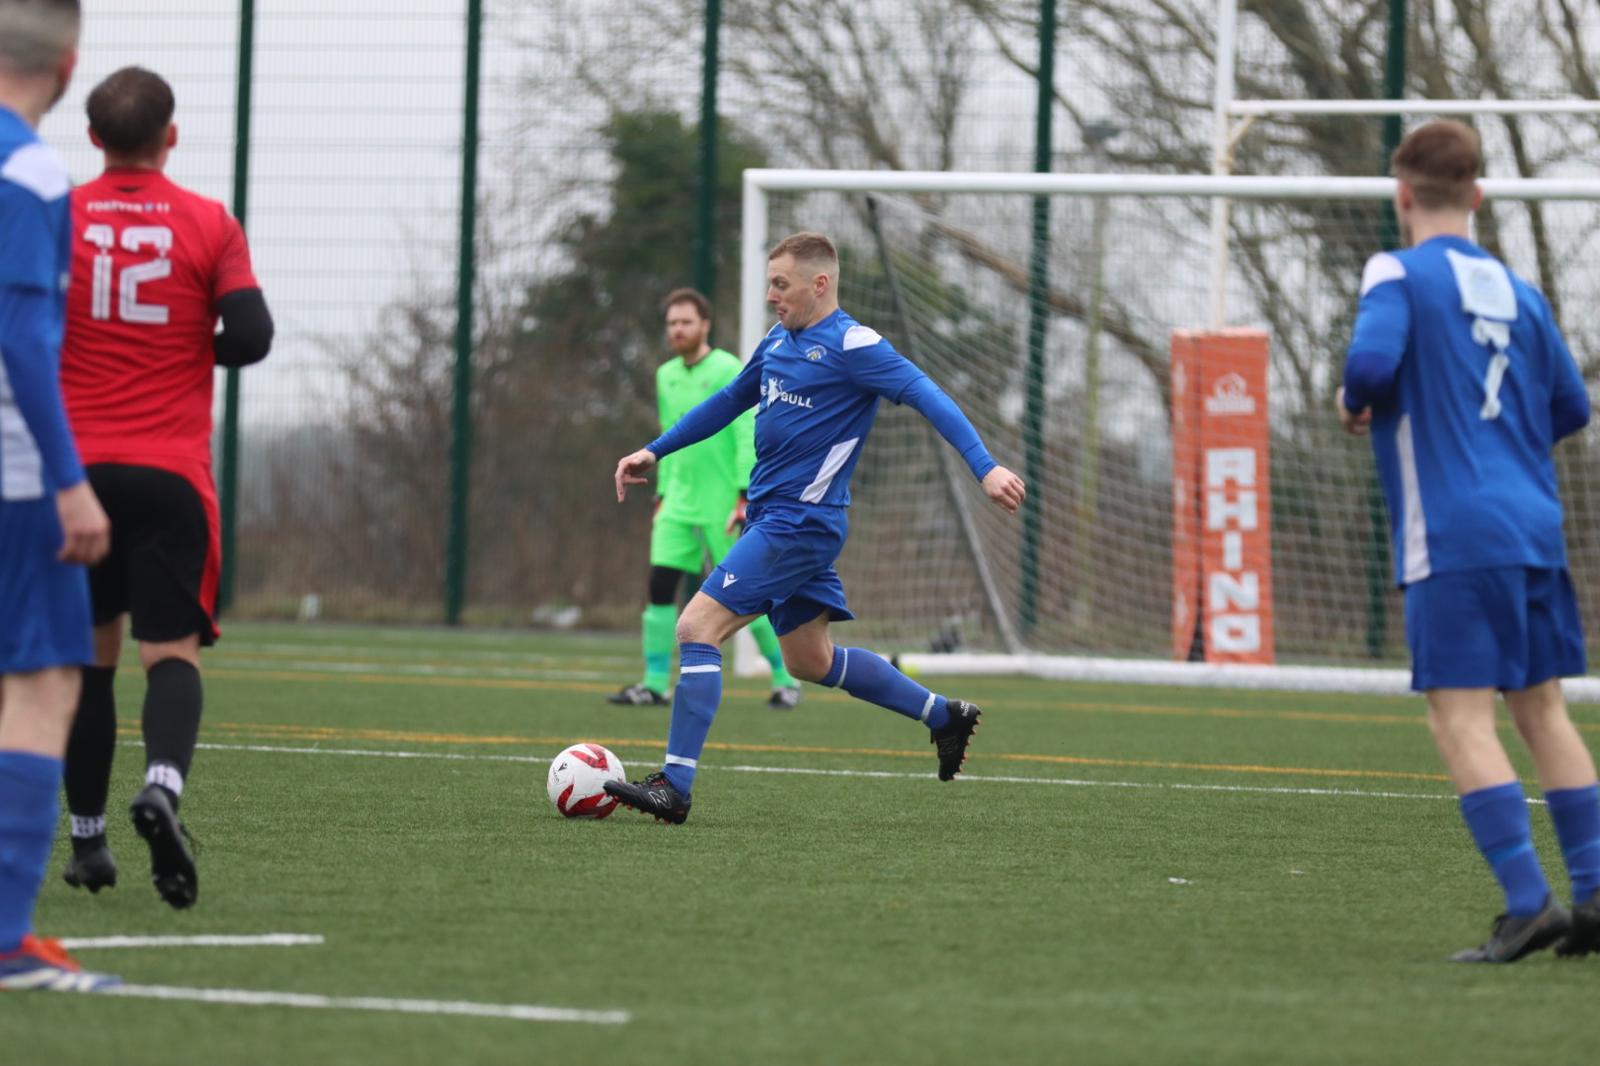
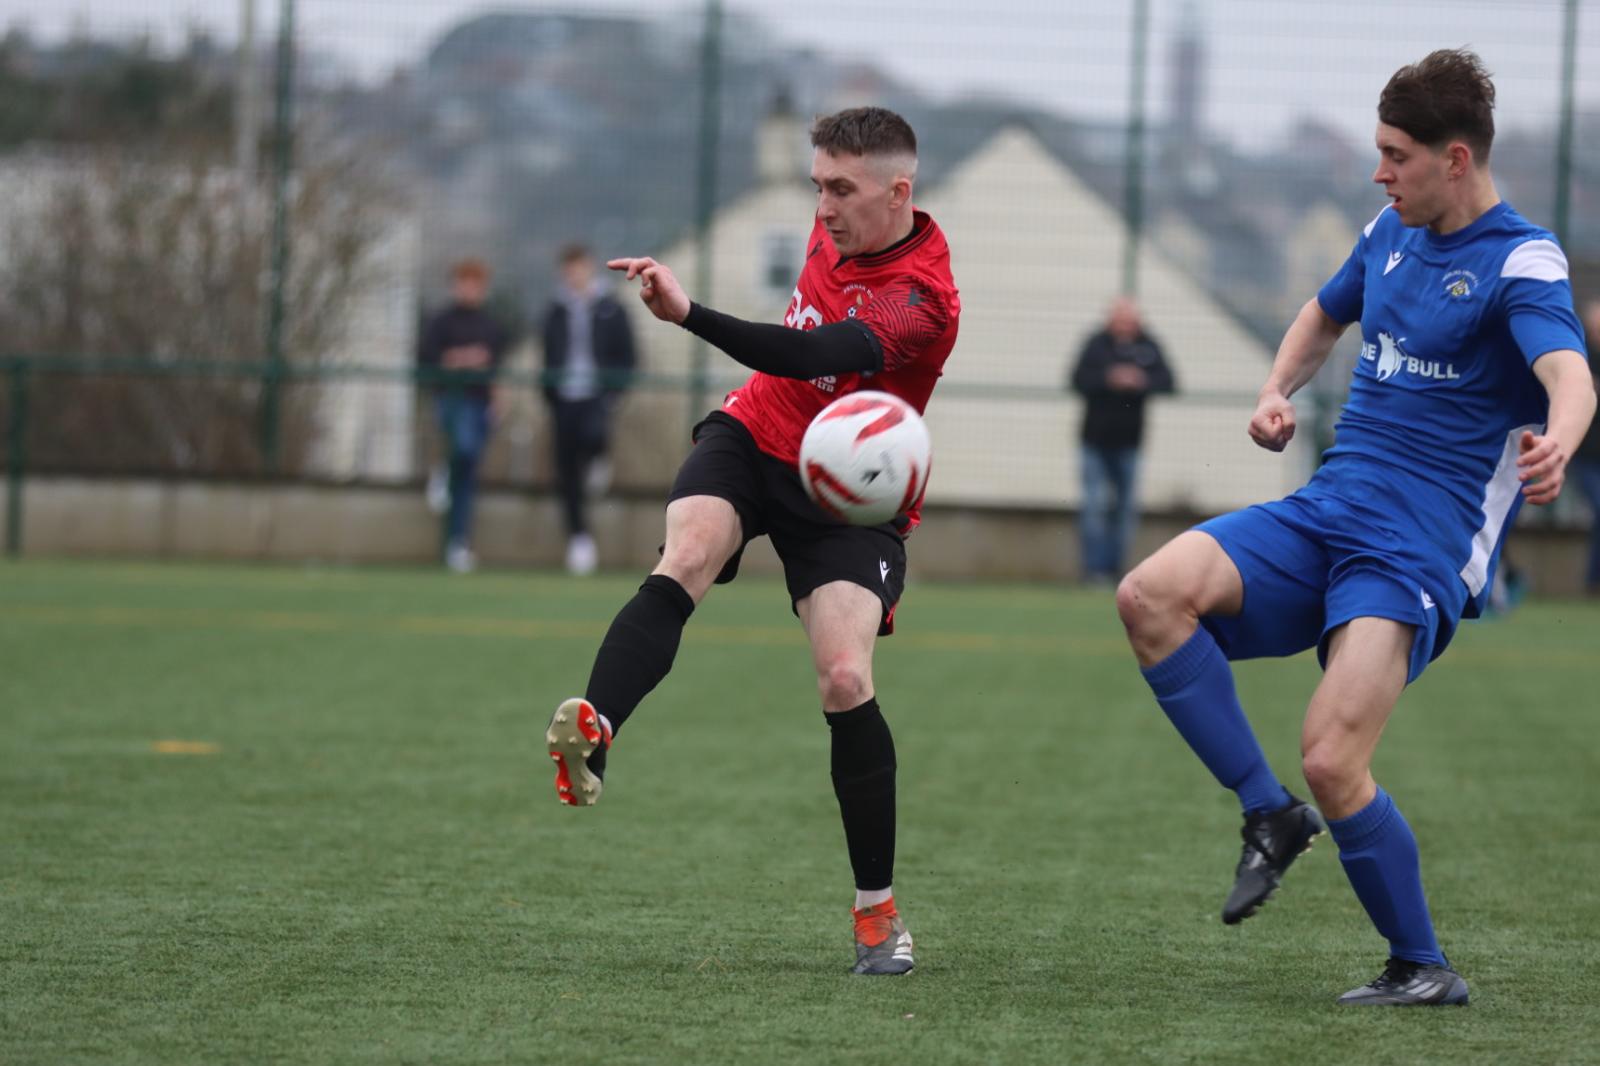
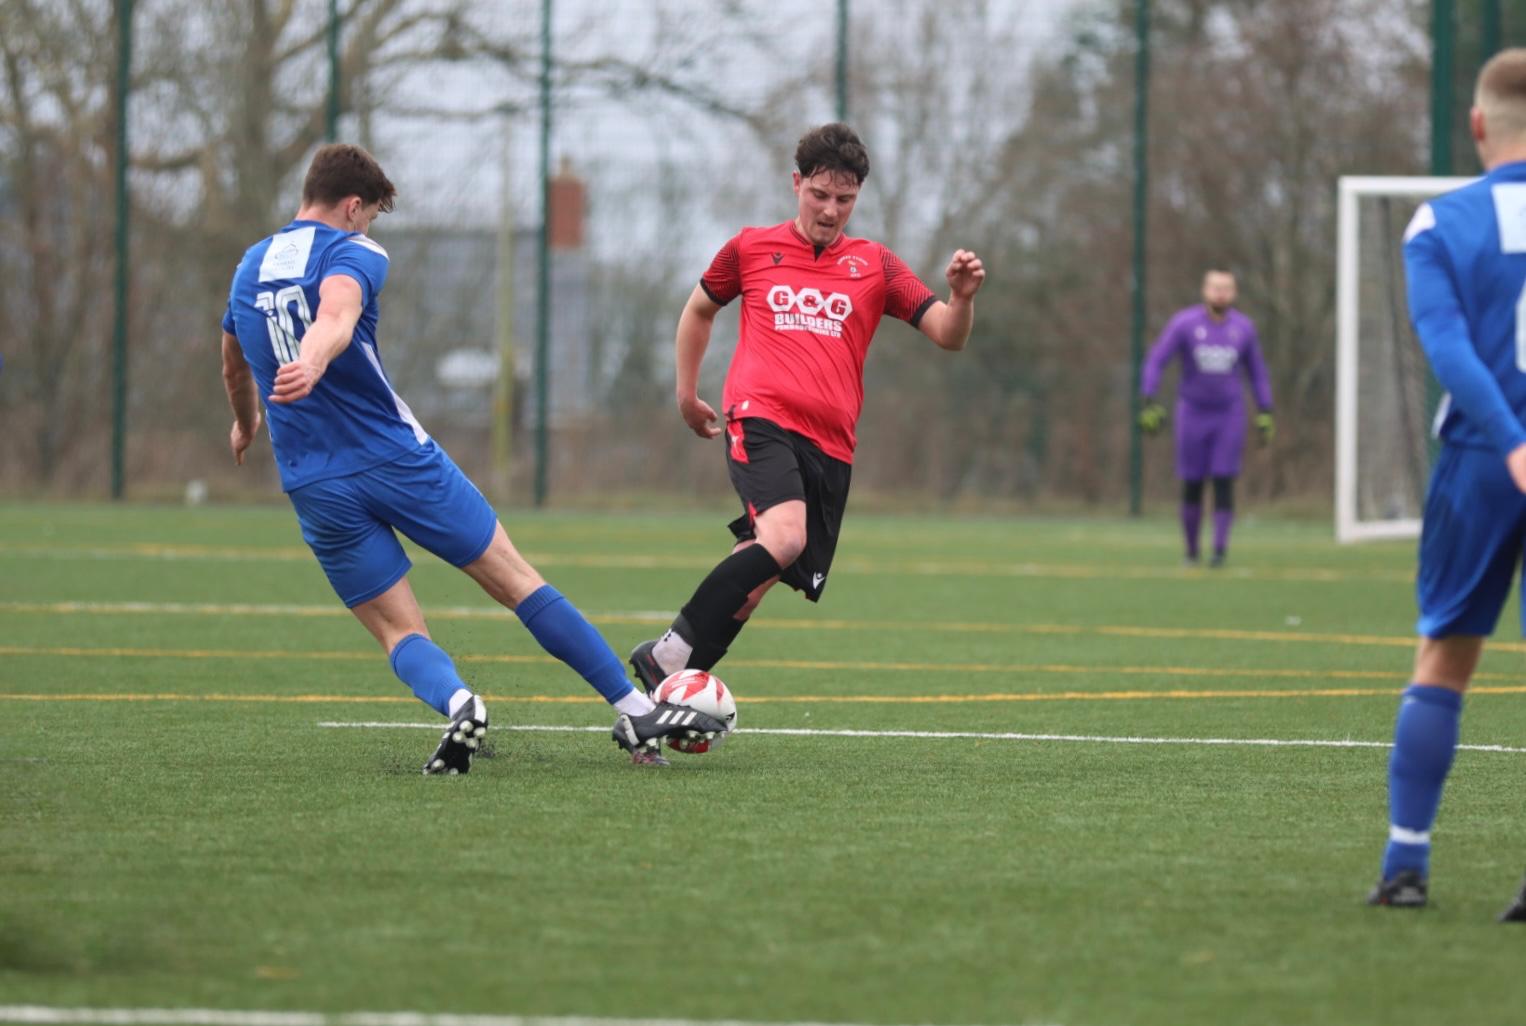
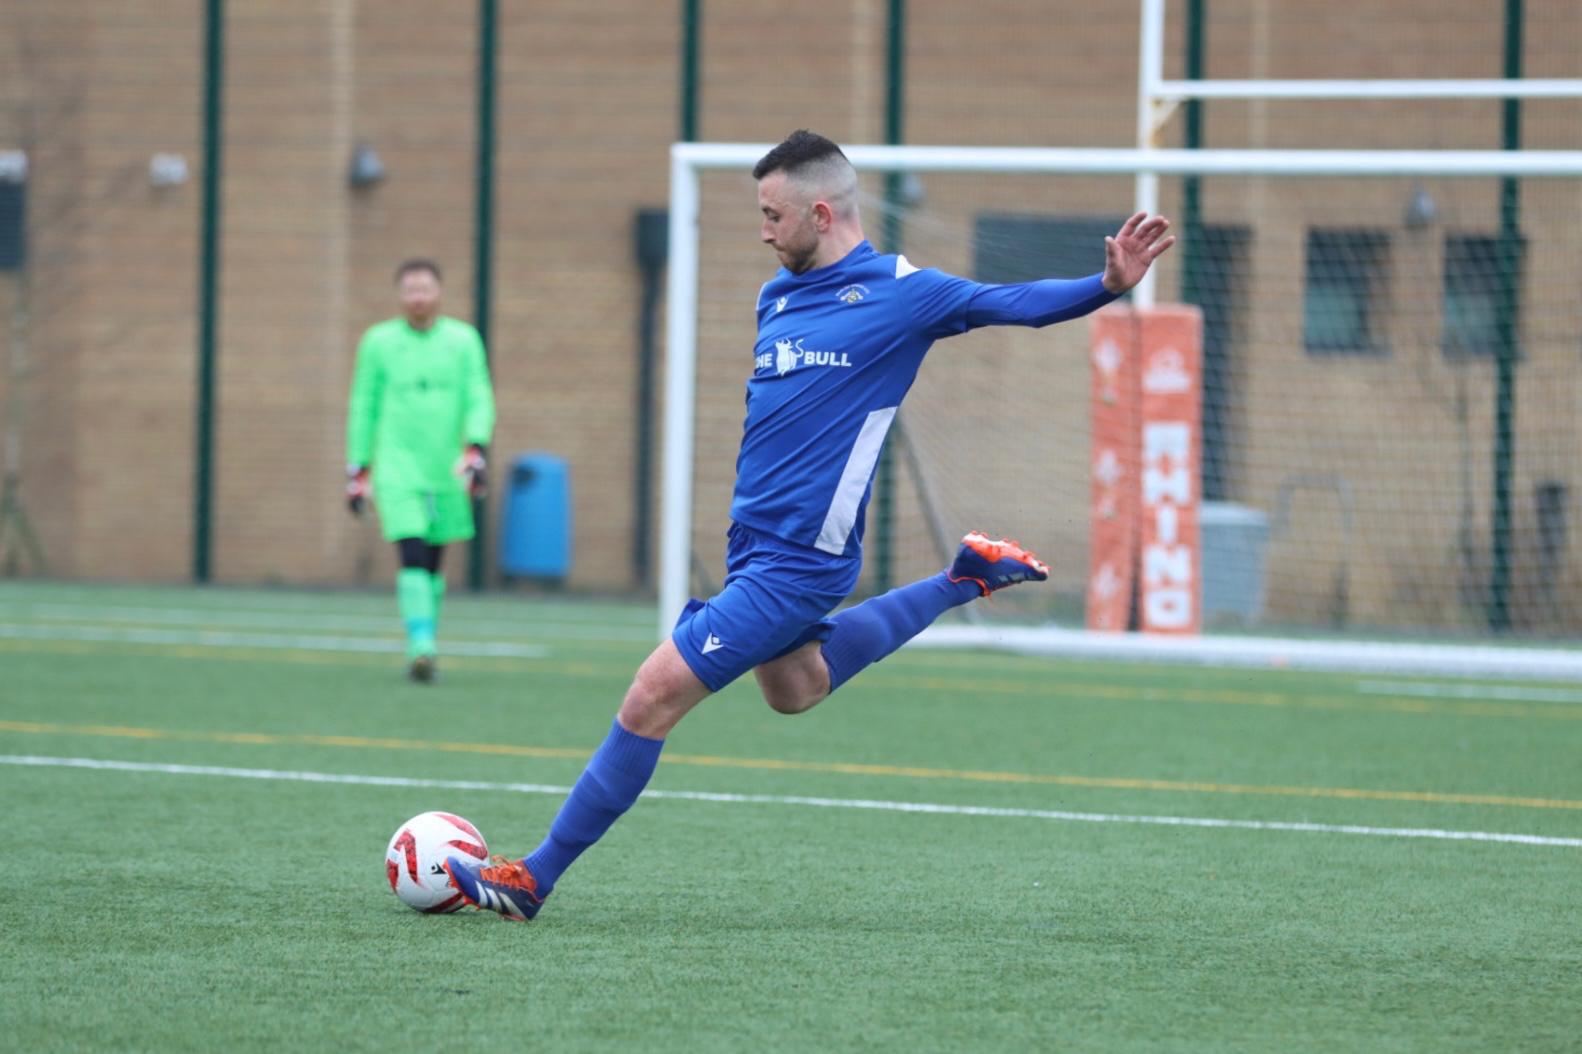
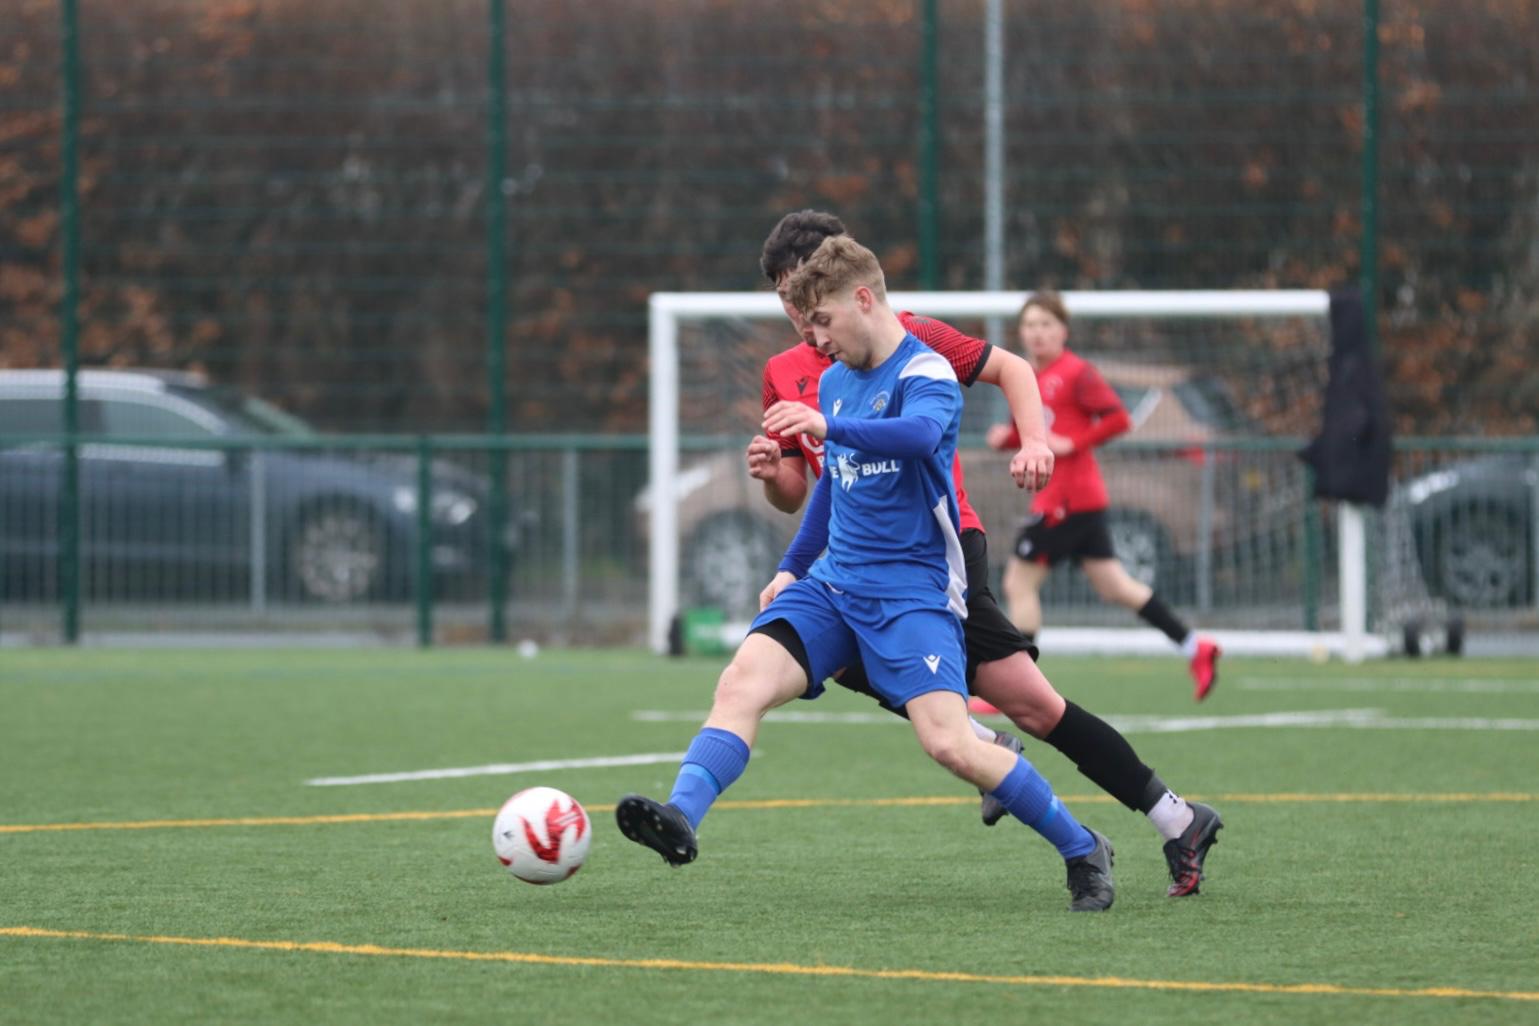
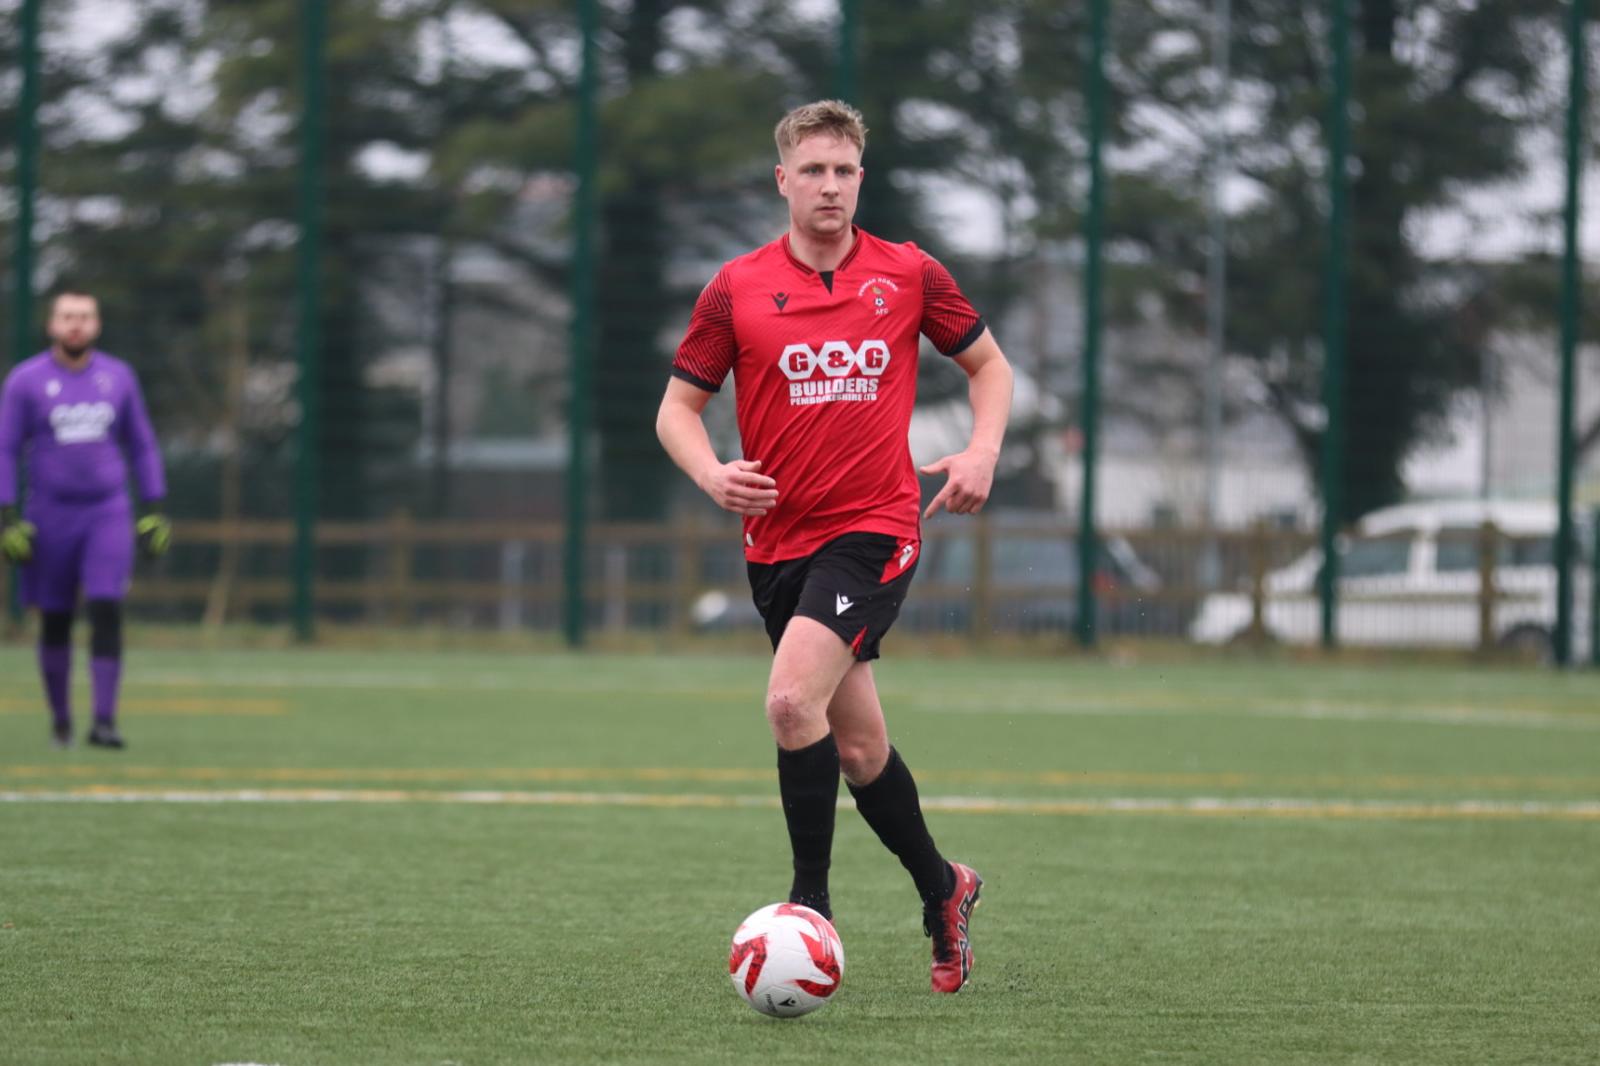
With many of Pembrokeshire's games postponed due to unplayable pitches from poor weather Friday night and Saturday morning, Merlins Bridge clash with Pennar Robins at their all-weather pitch was always guaranteed to go ahead.
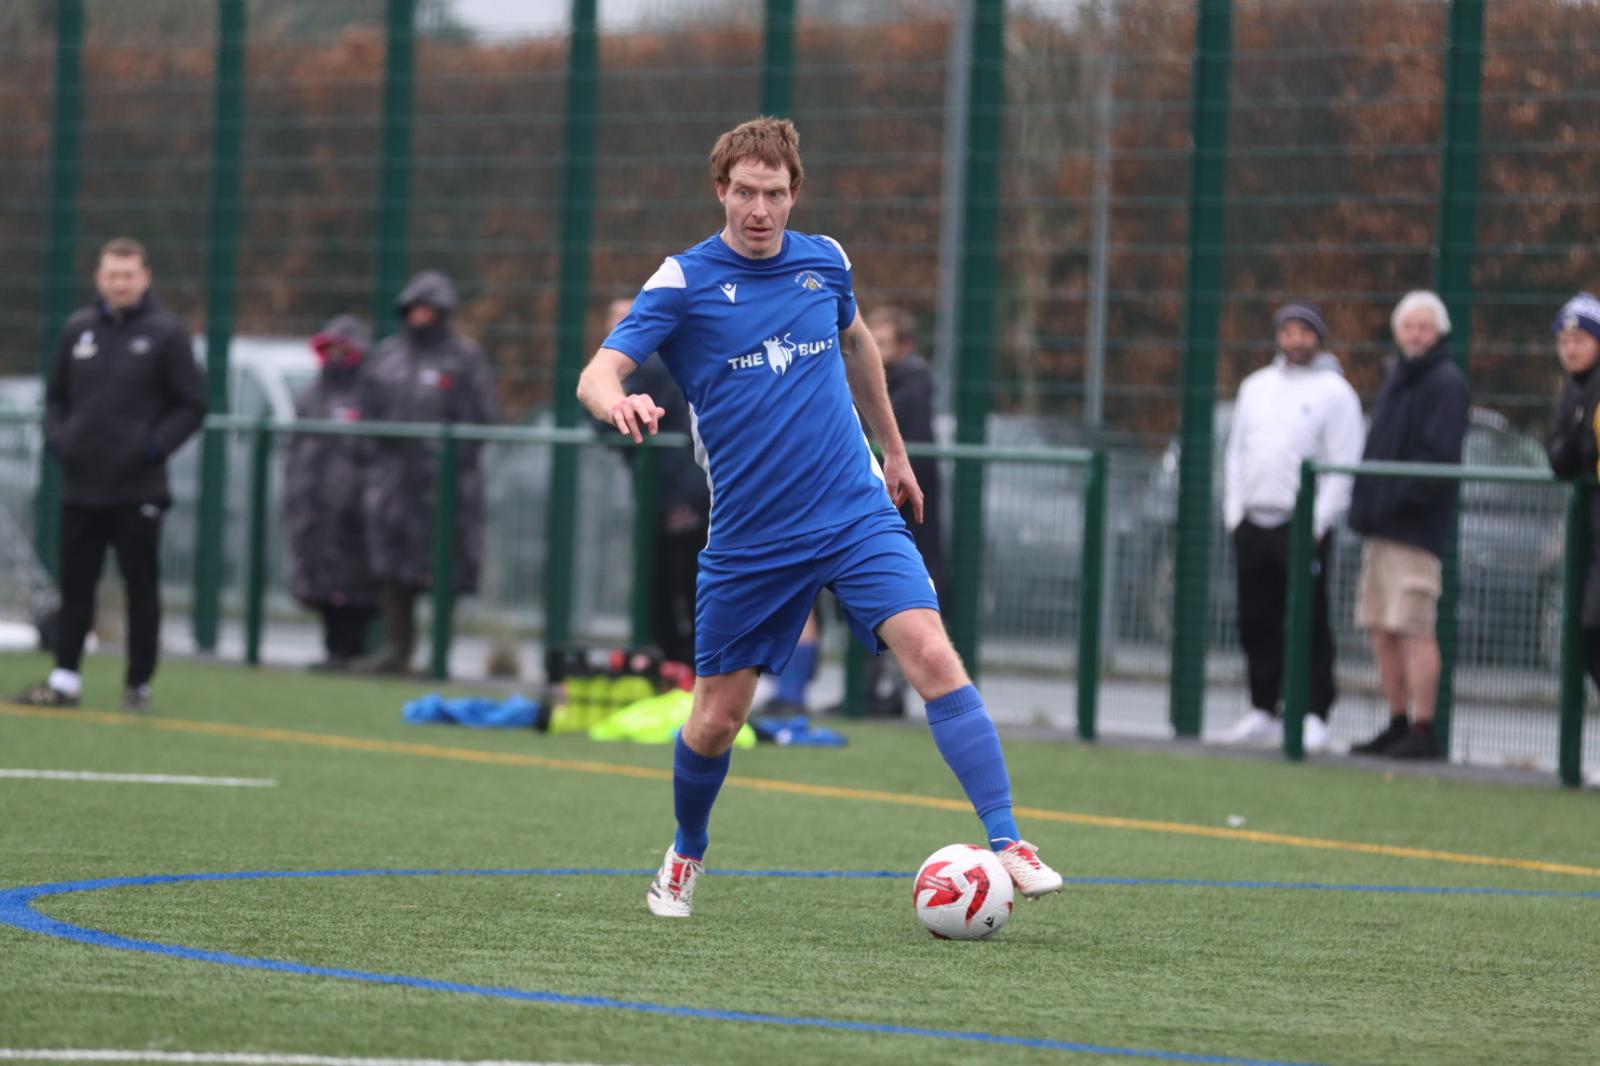
The Wizards went in to the game in mixed form, enjoying West Wales Cup success on the road over Glynneath but with only one win from four league games, including a 1-2 loss in the reverse fixture to Pennar back in November.
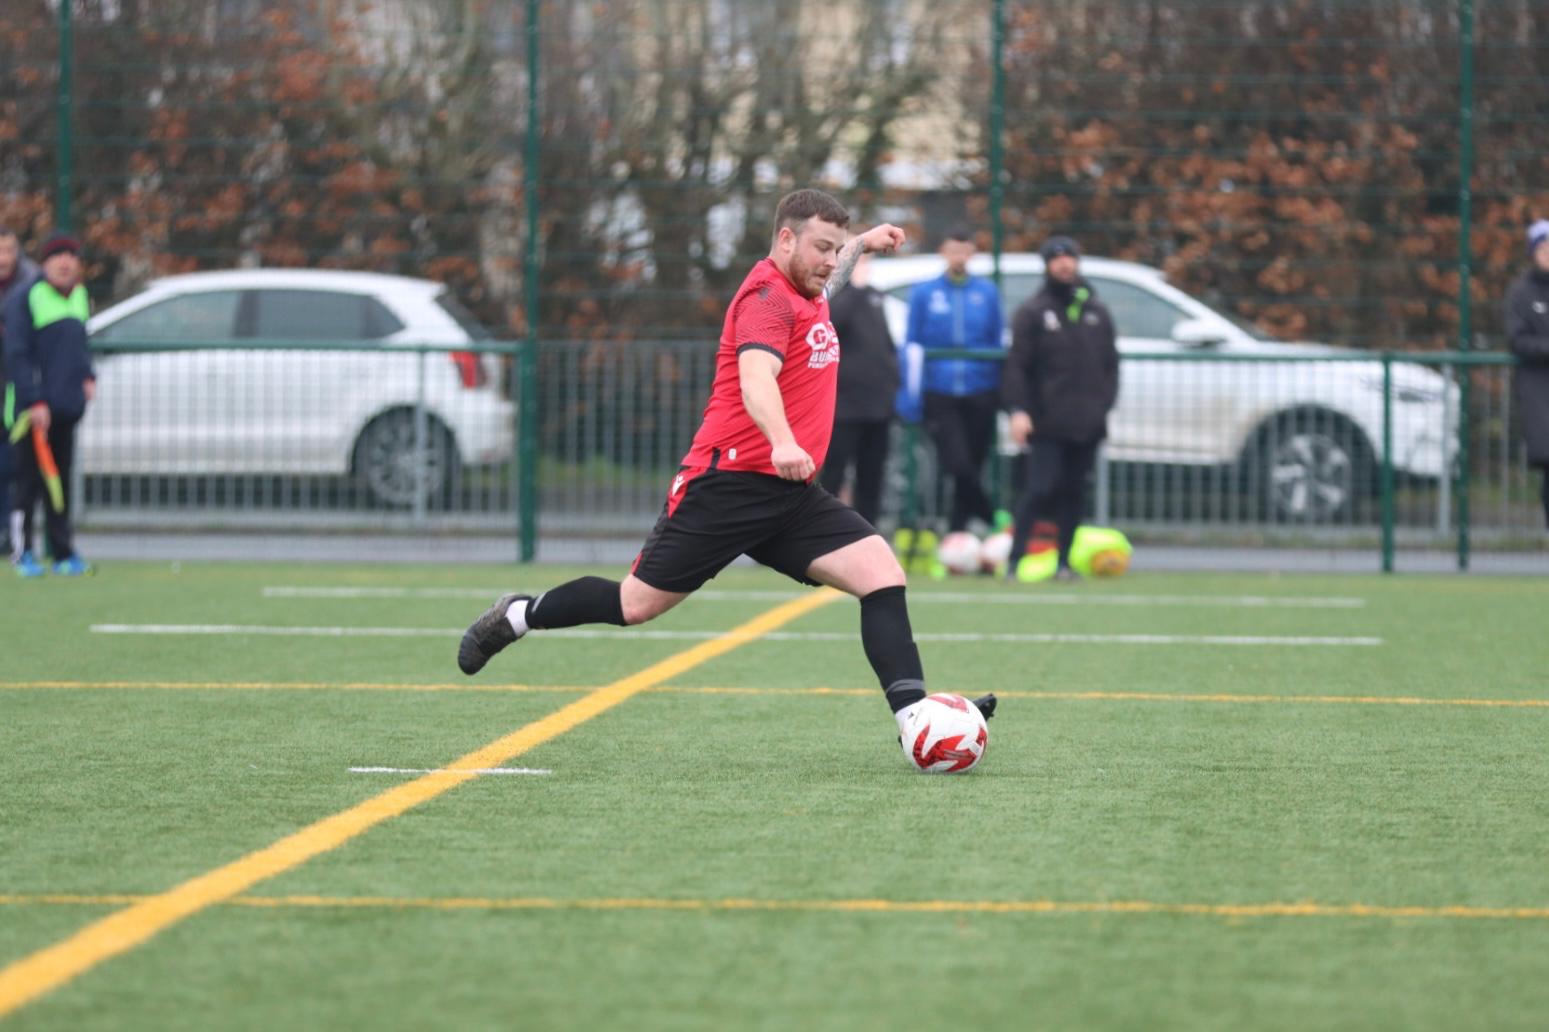
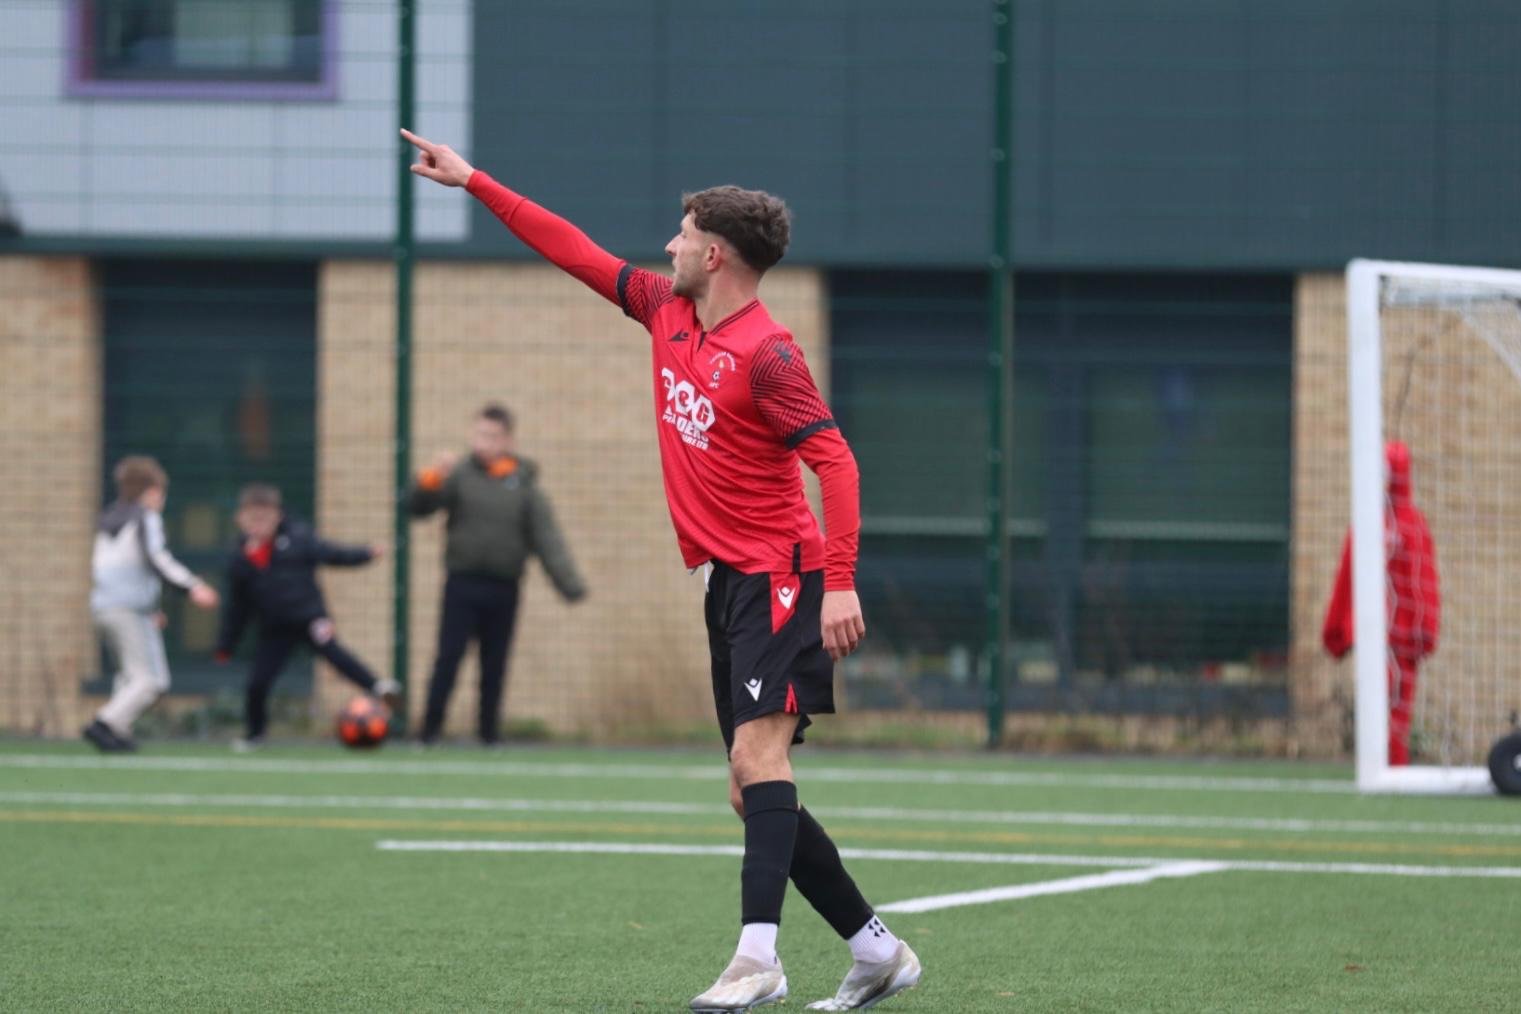
After coming out on the losing end of a heartbreaking penalty shout-out in their West Wales Cup tie with Tenby, Pennar showed great signs of professionalism to put the result immediately behind them with a 2-0 win on the road against Clarbeston Road last time out.
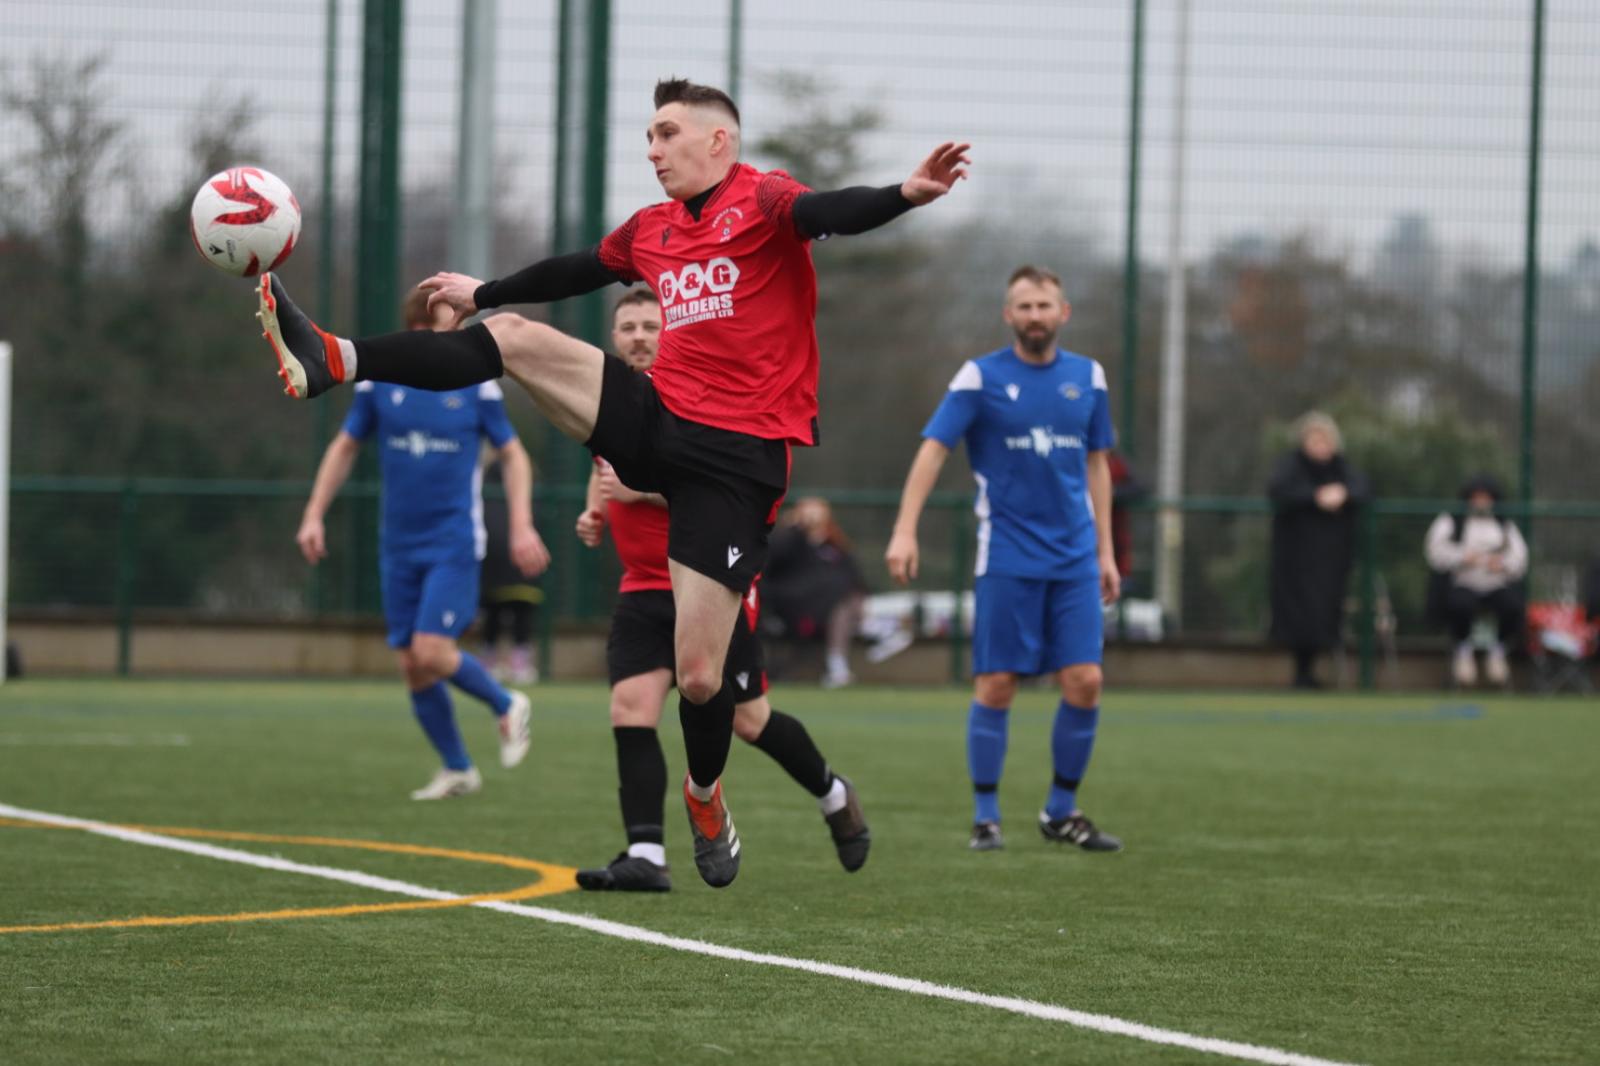
With the race for third place (Clarbeston Road - 28 points, Tenby and Pennar - 27 points apiece) well and truly hotting up, the Robins would have earmarked this fixture as vital in achieving their goals.
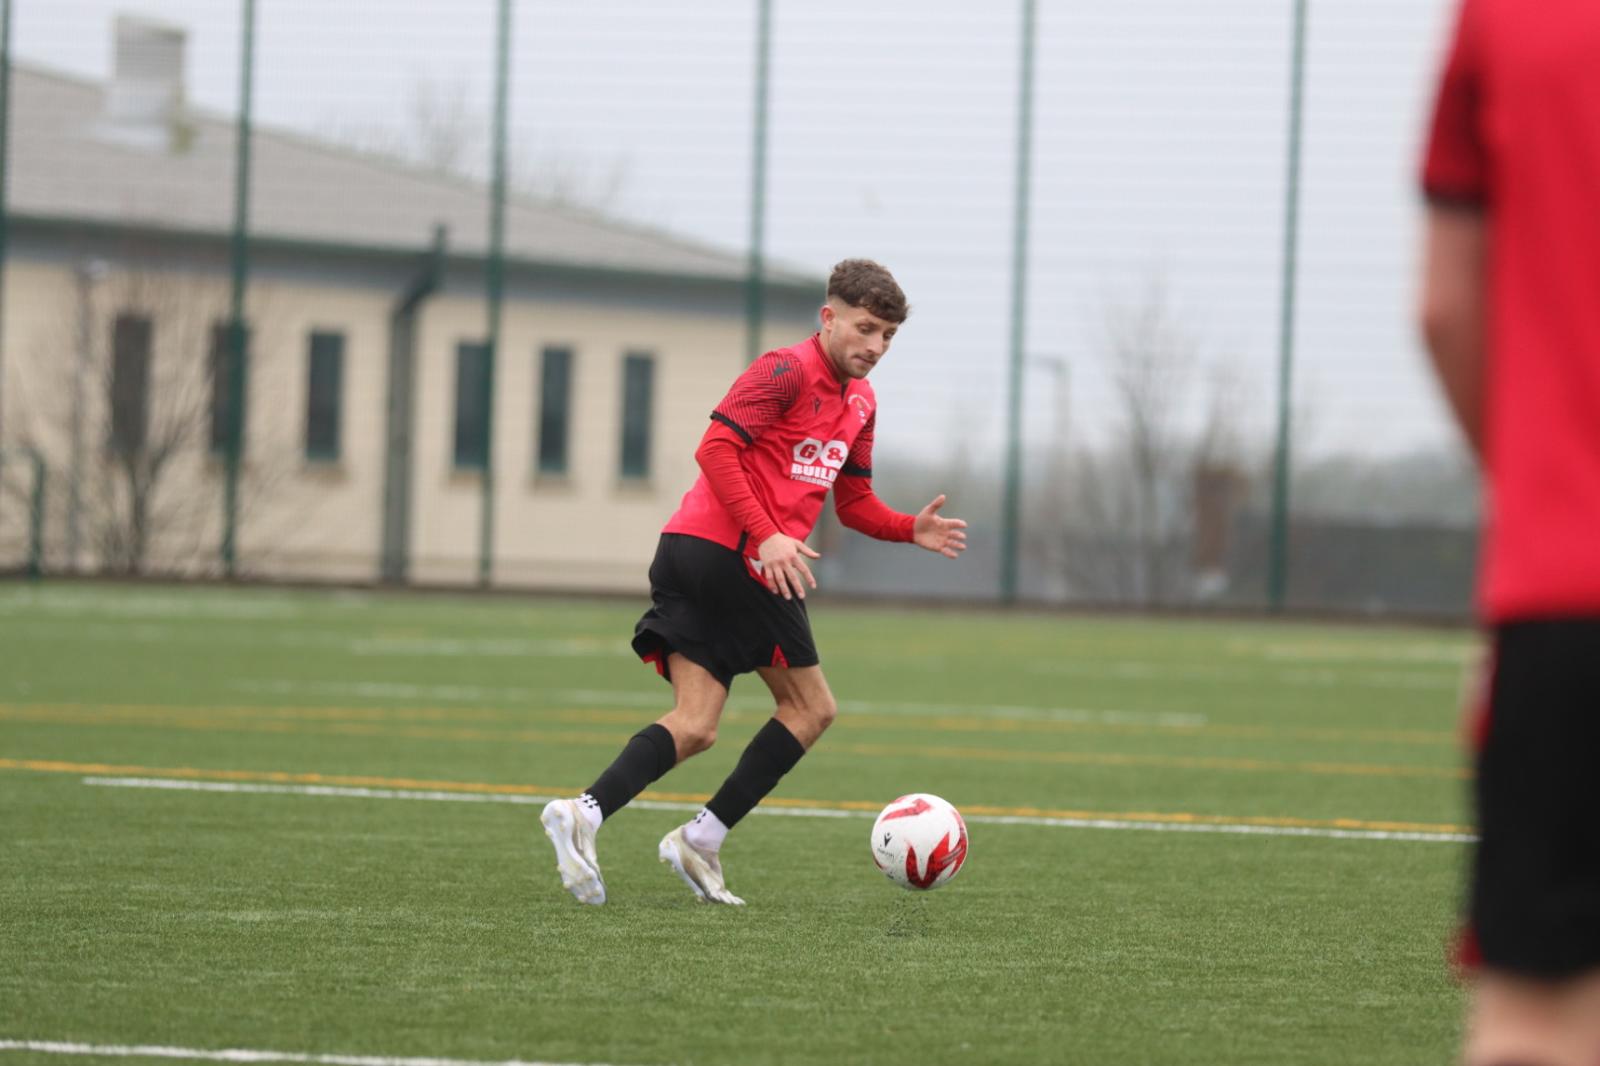
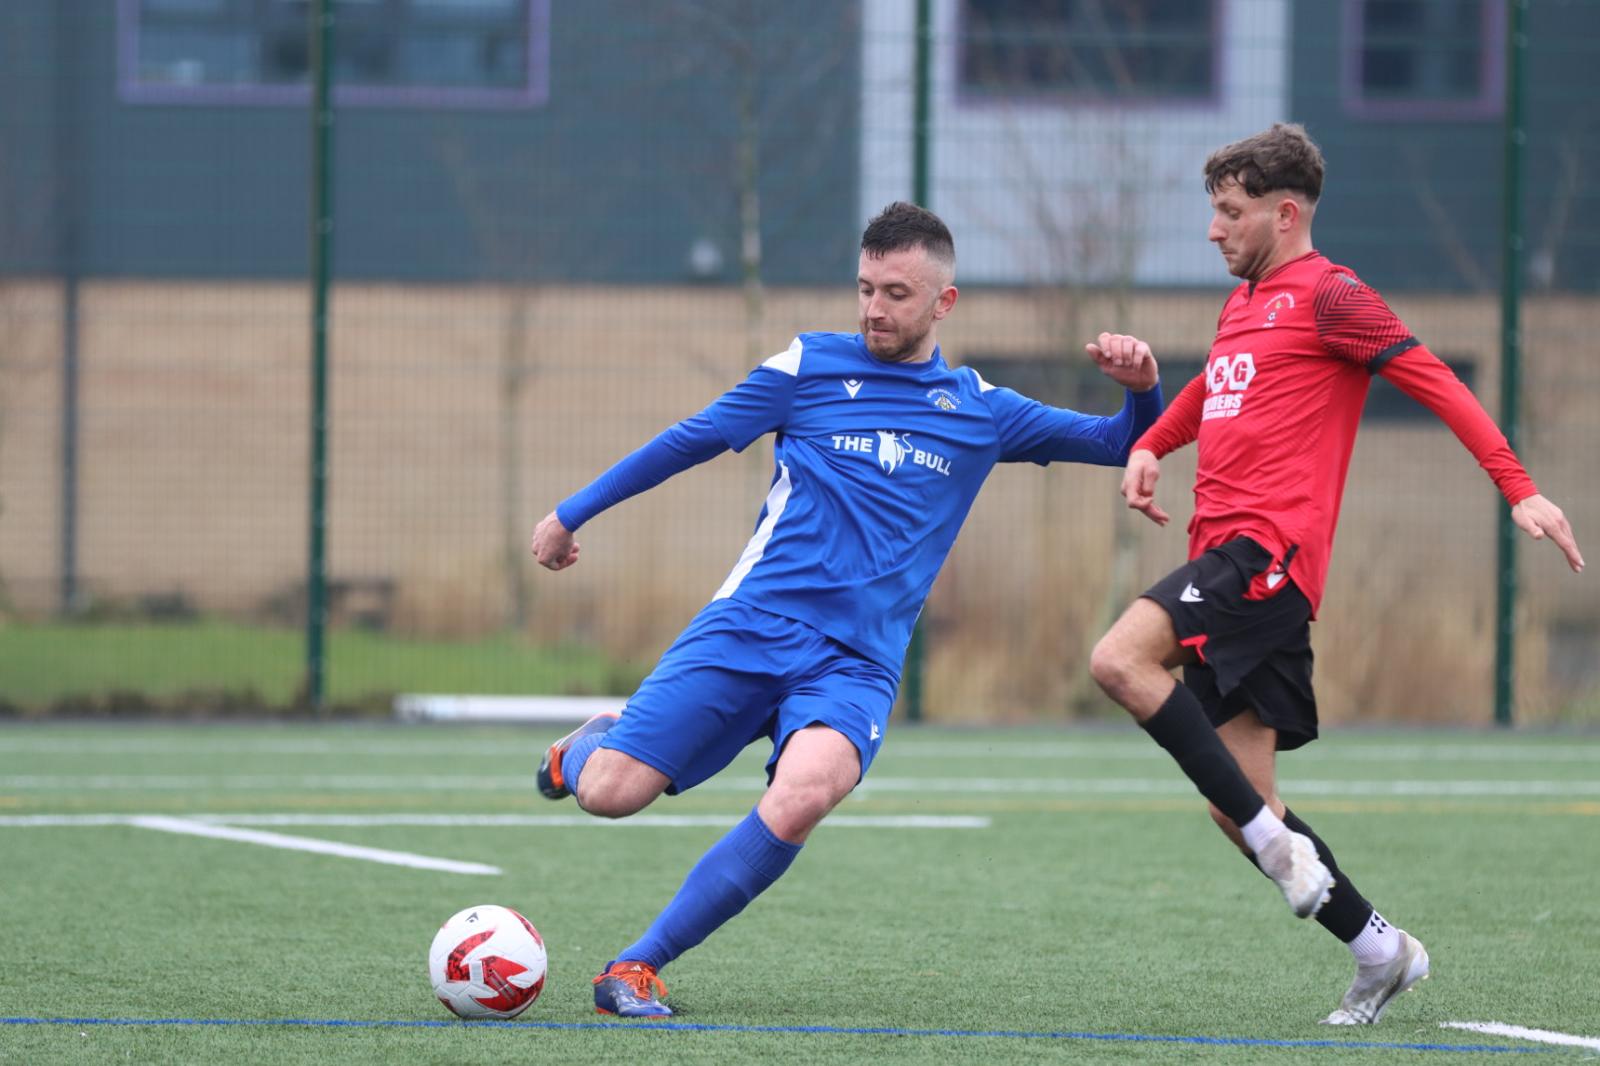
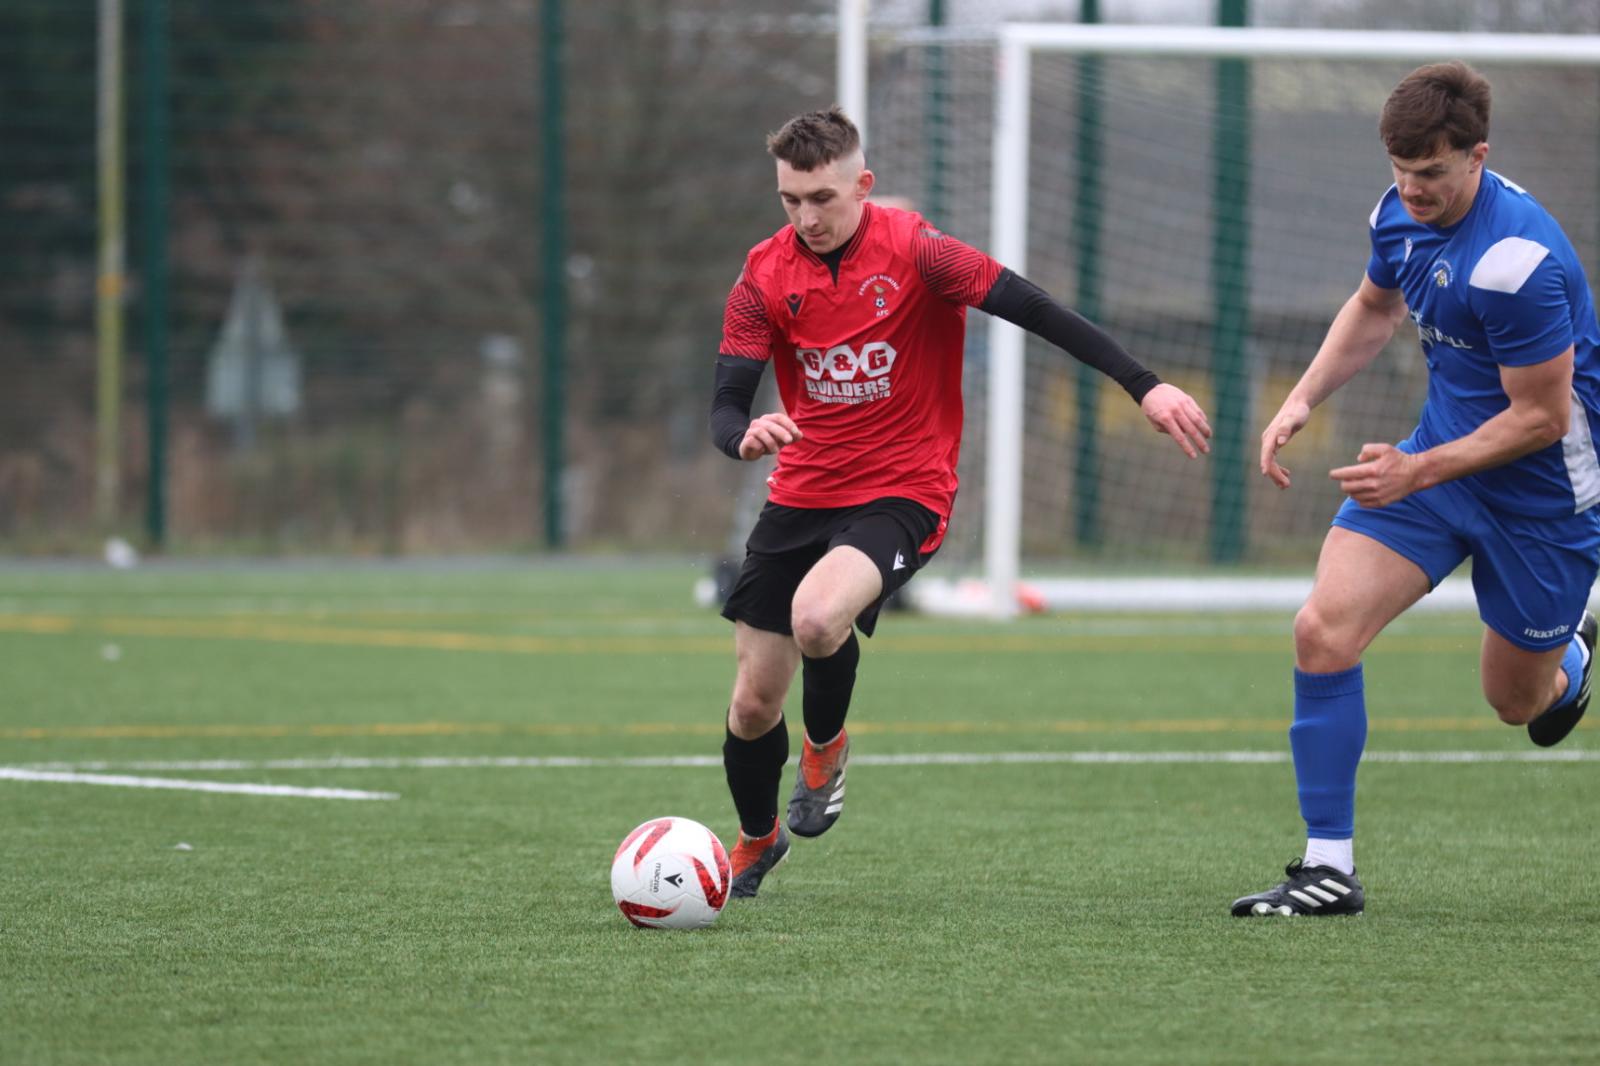
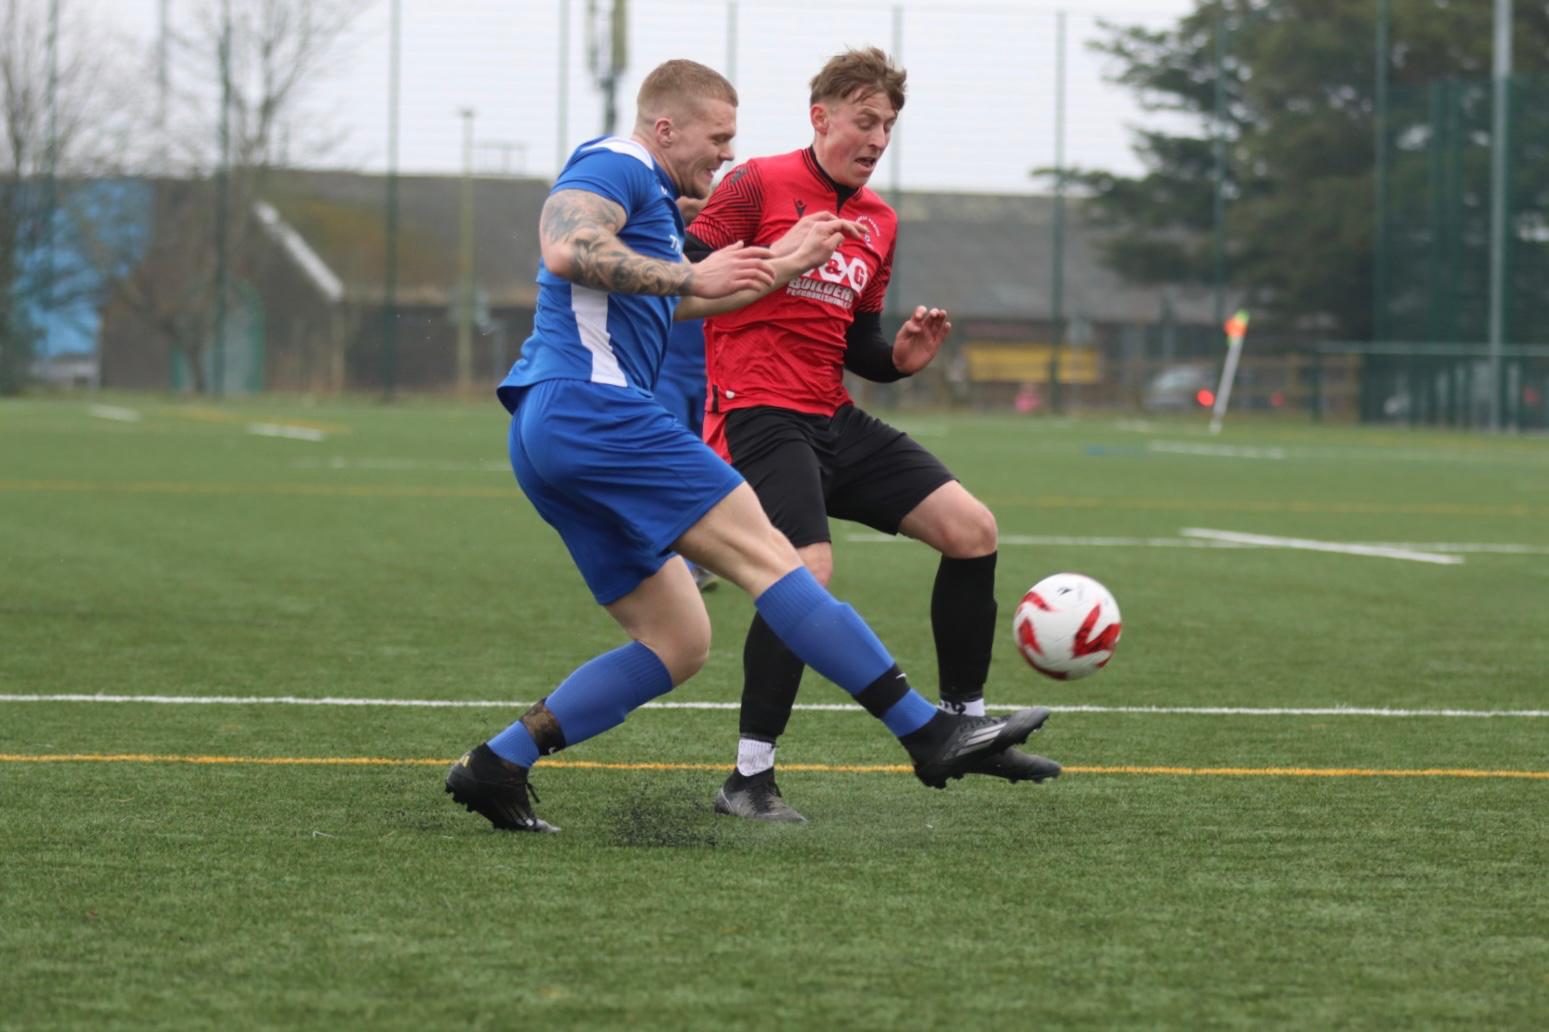
The visitors got off to the perfect start, scoring through Jimmy Wilkes in the 16th minute thanks to an assist from Nicholas Willis.
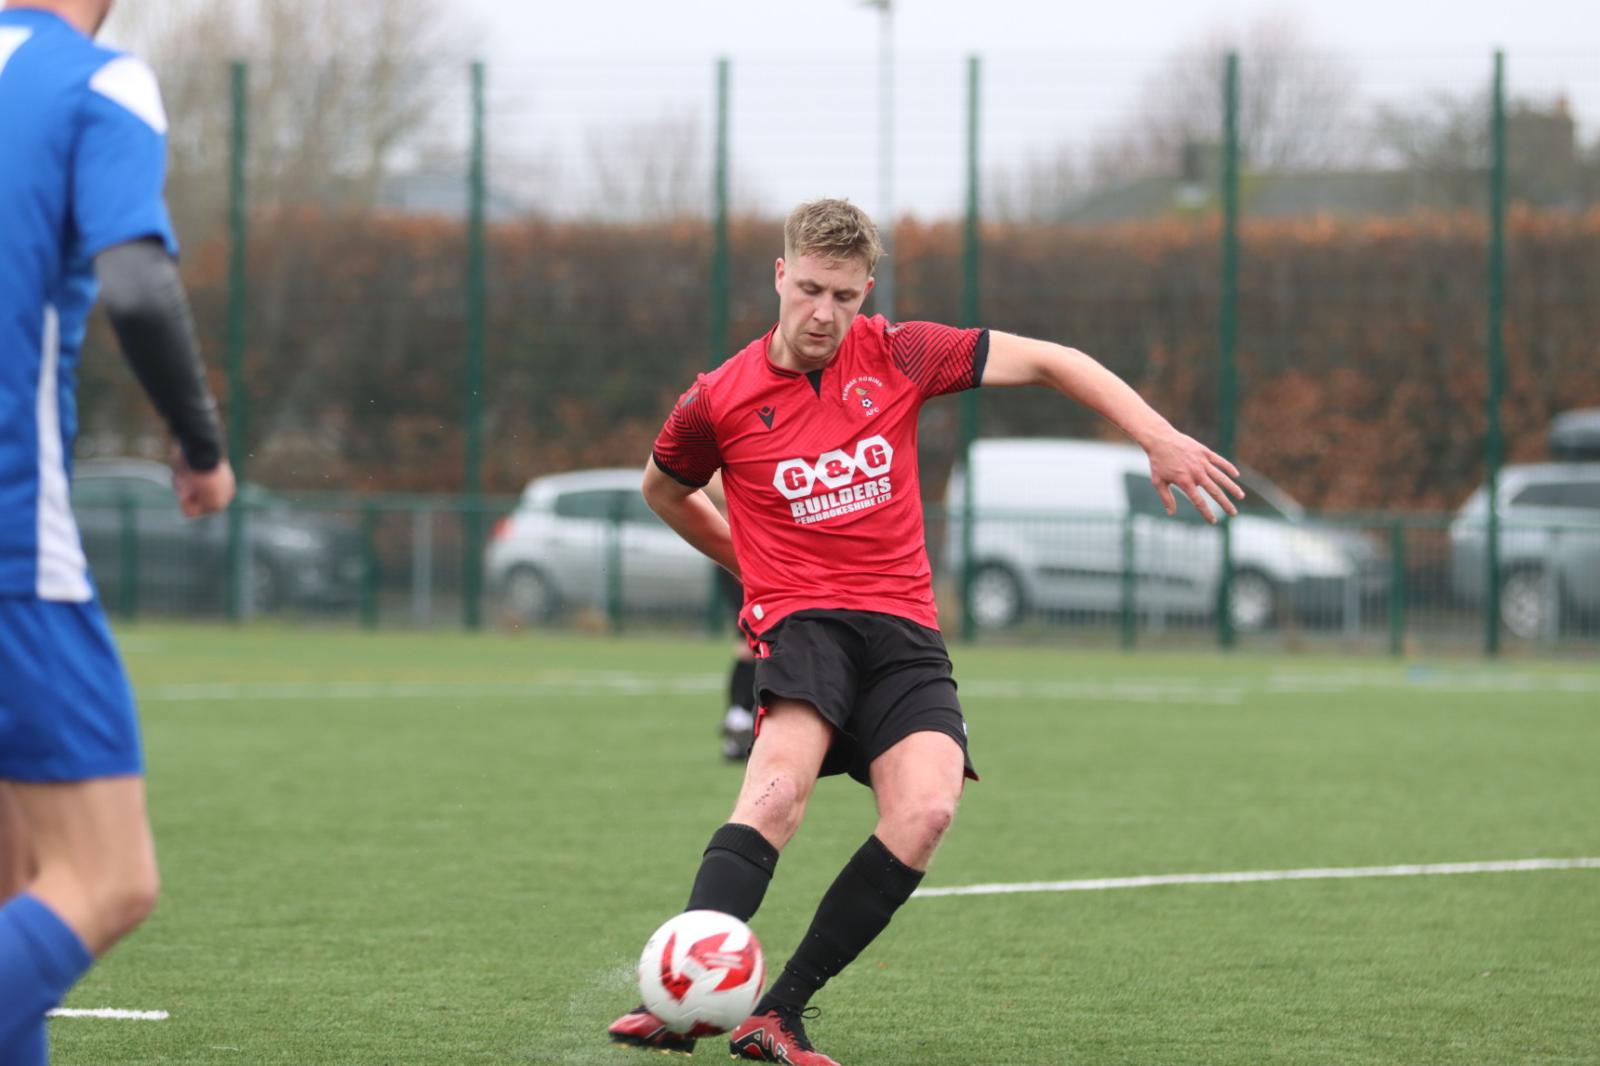
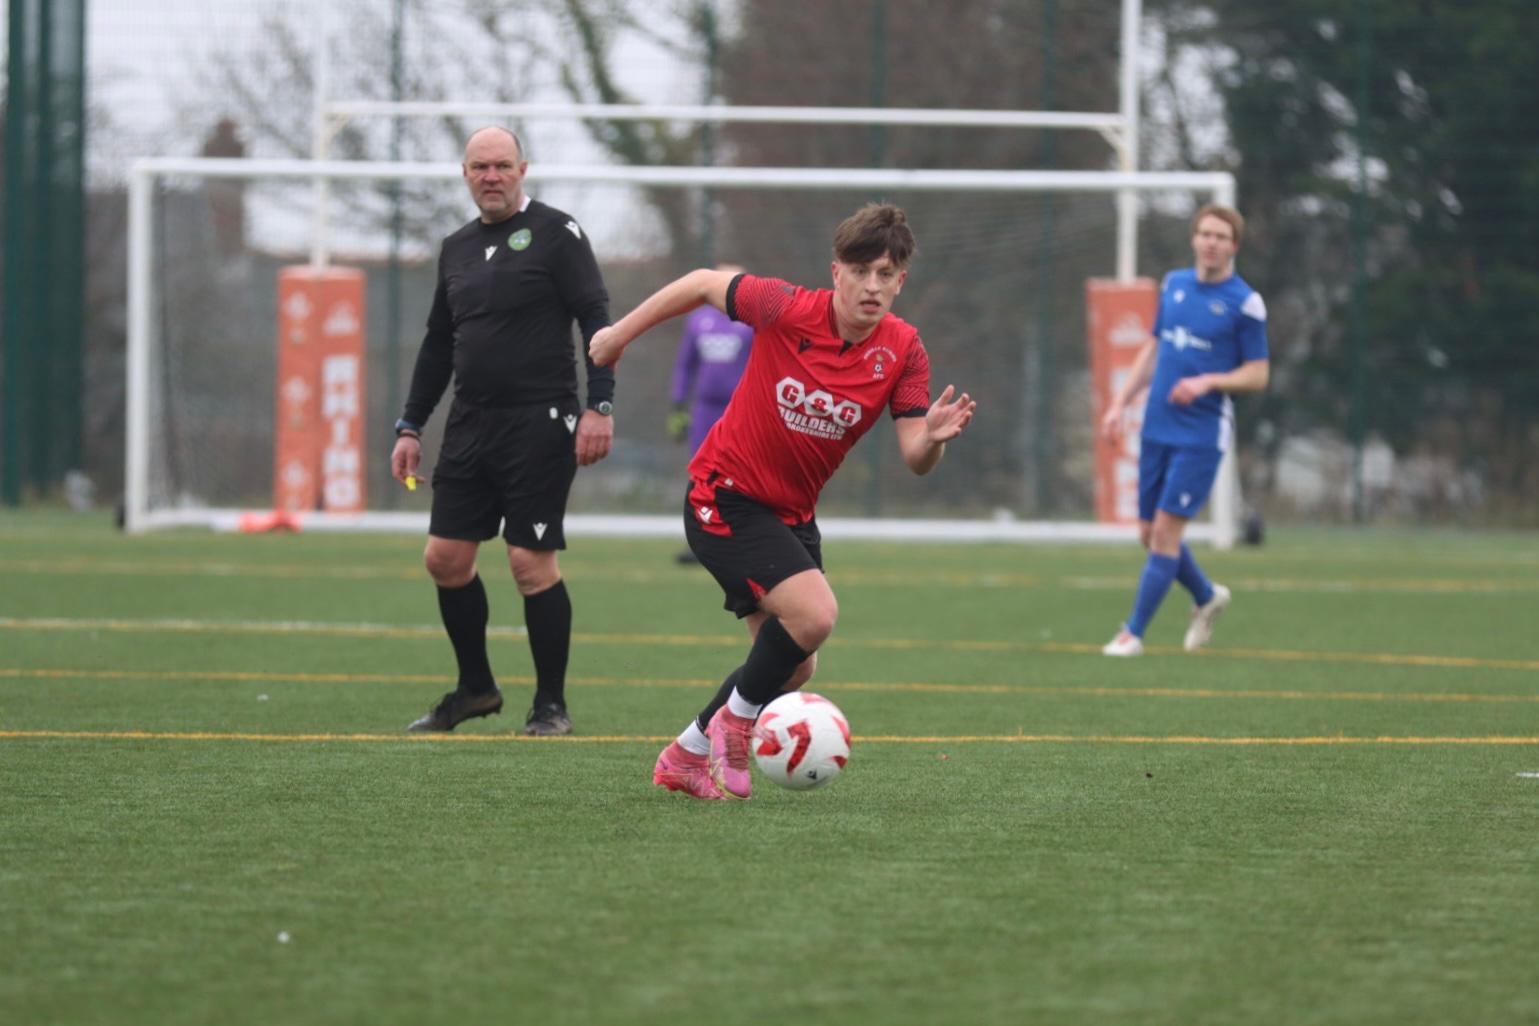
The hosts responded with an qualiser from youngster Joshua Thomas who is enjoying a rich vein of form, scoring three goals with two assists in his last four games, now playing more after recovering from injury.
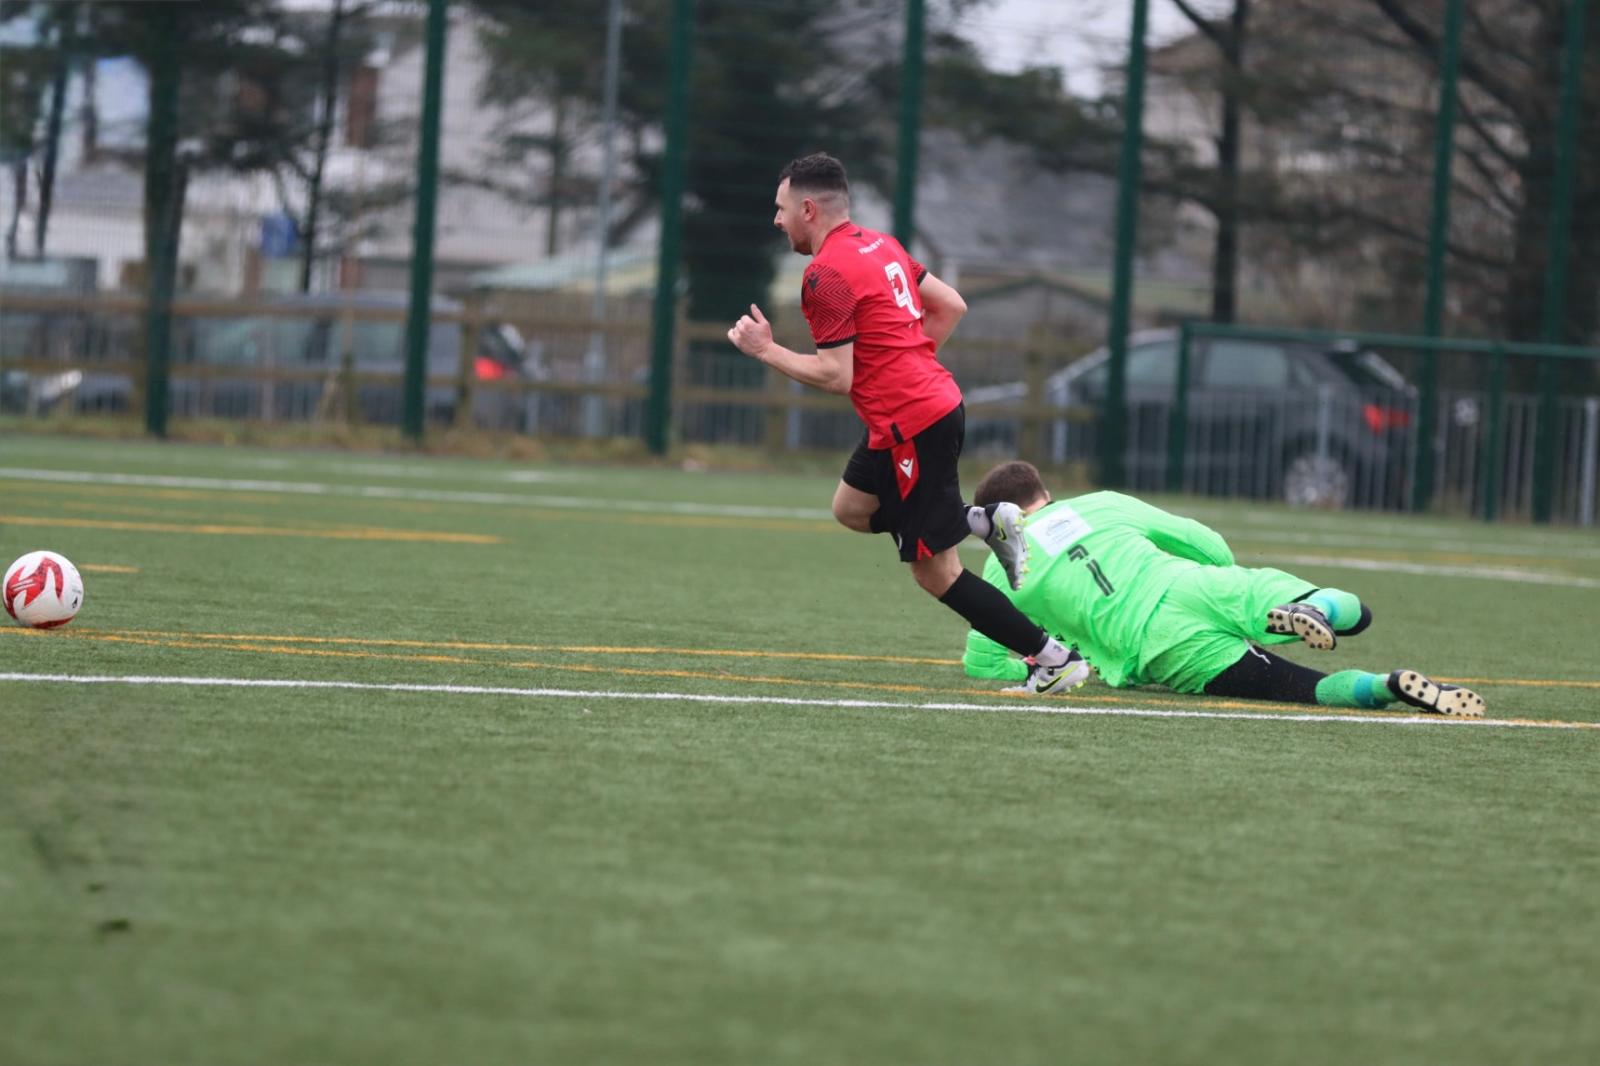
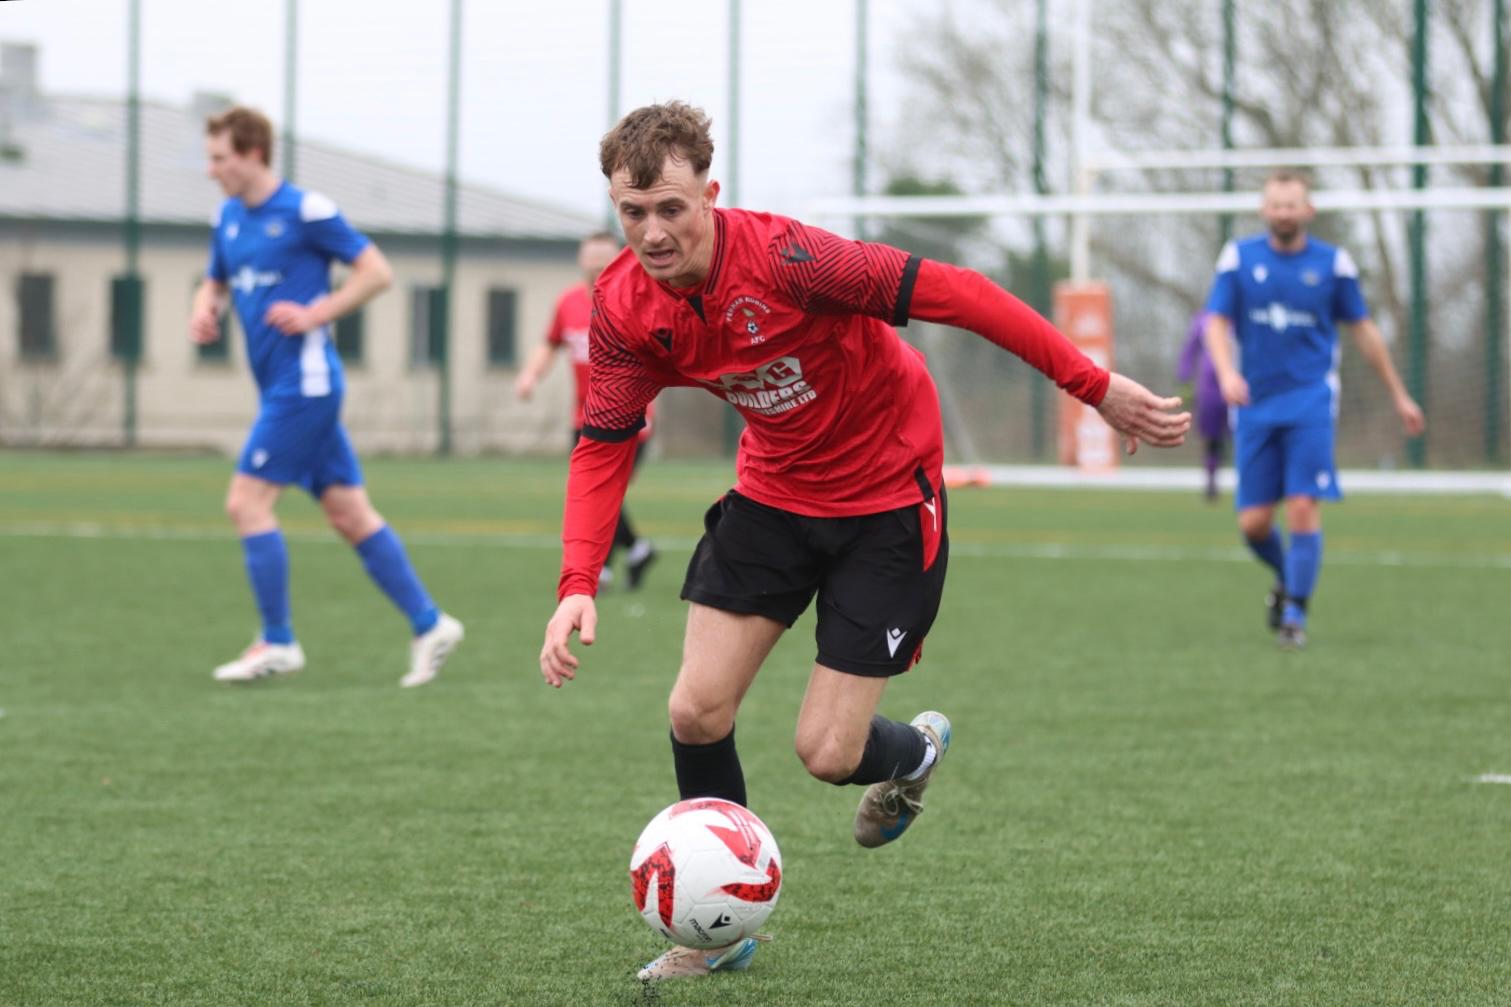
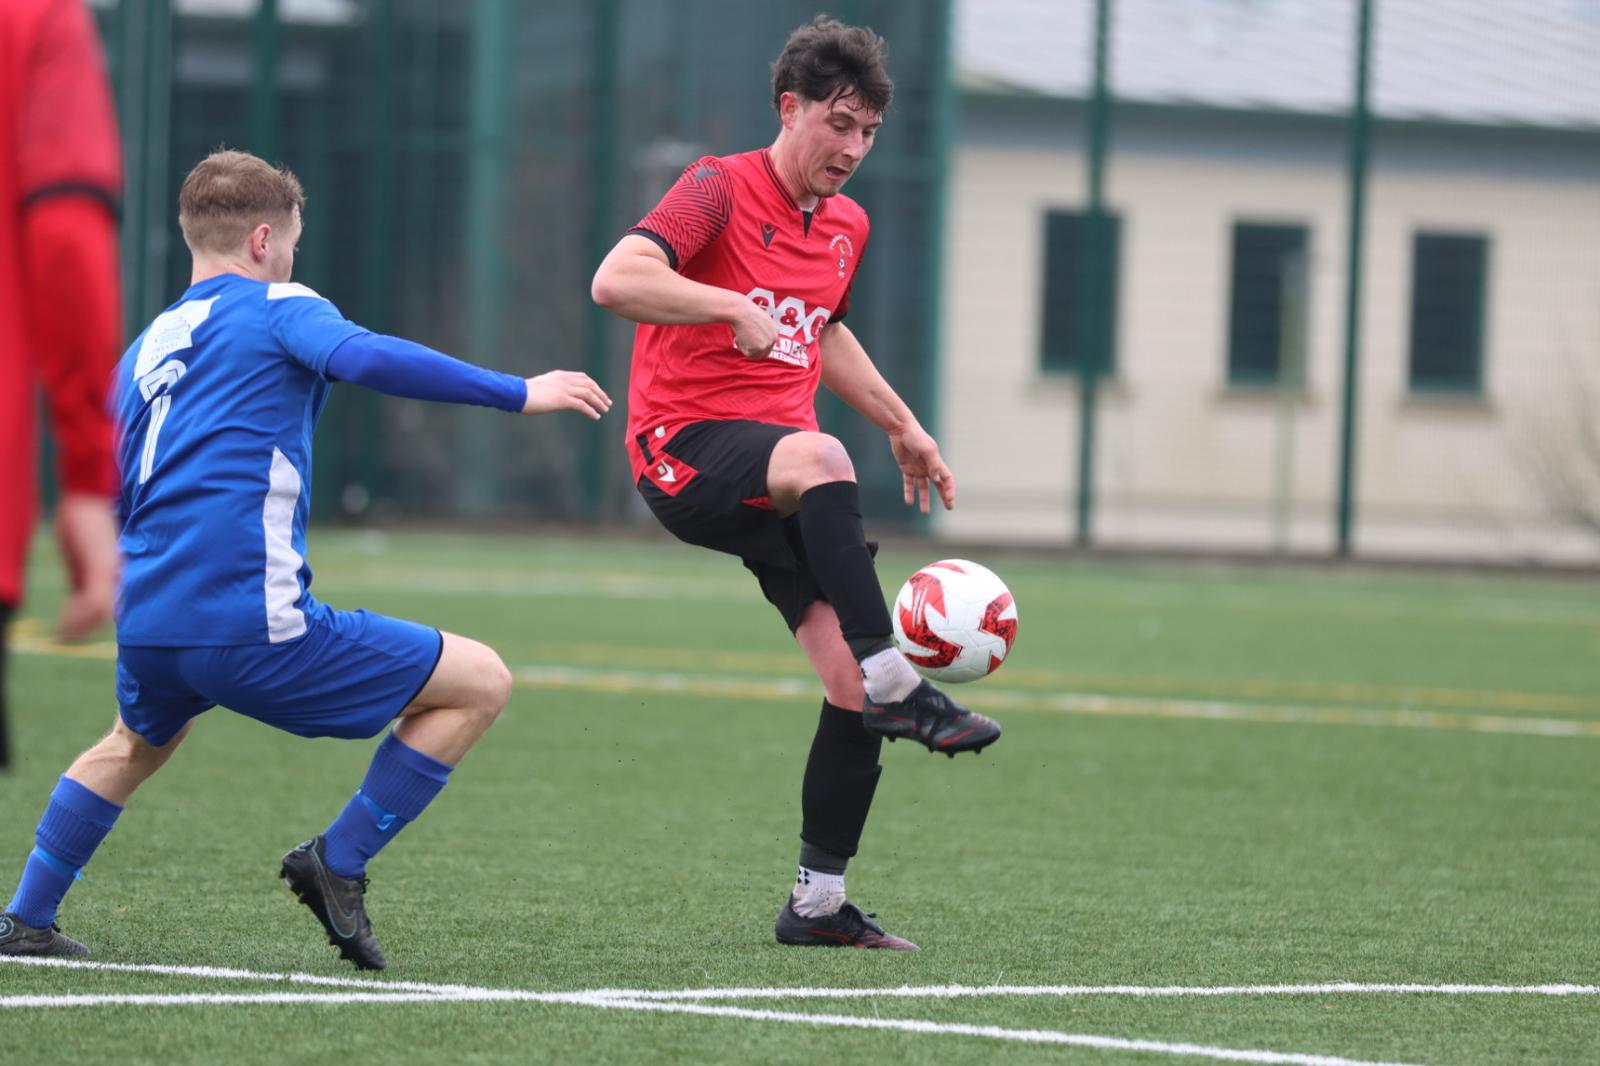
The Robins rescored their lead on the stroke of half-time with another summer signing on the scoresheet, Ben Adams scoring after being set up by Cameron Brunton.
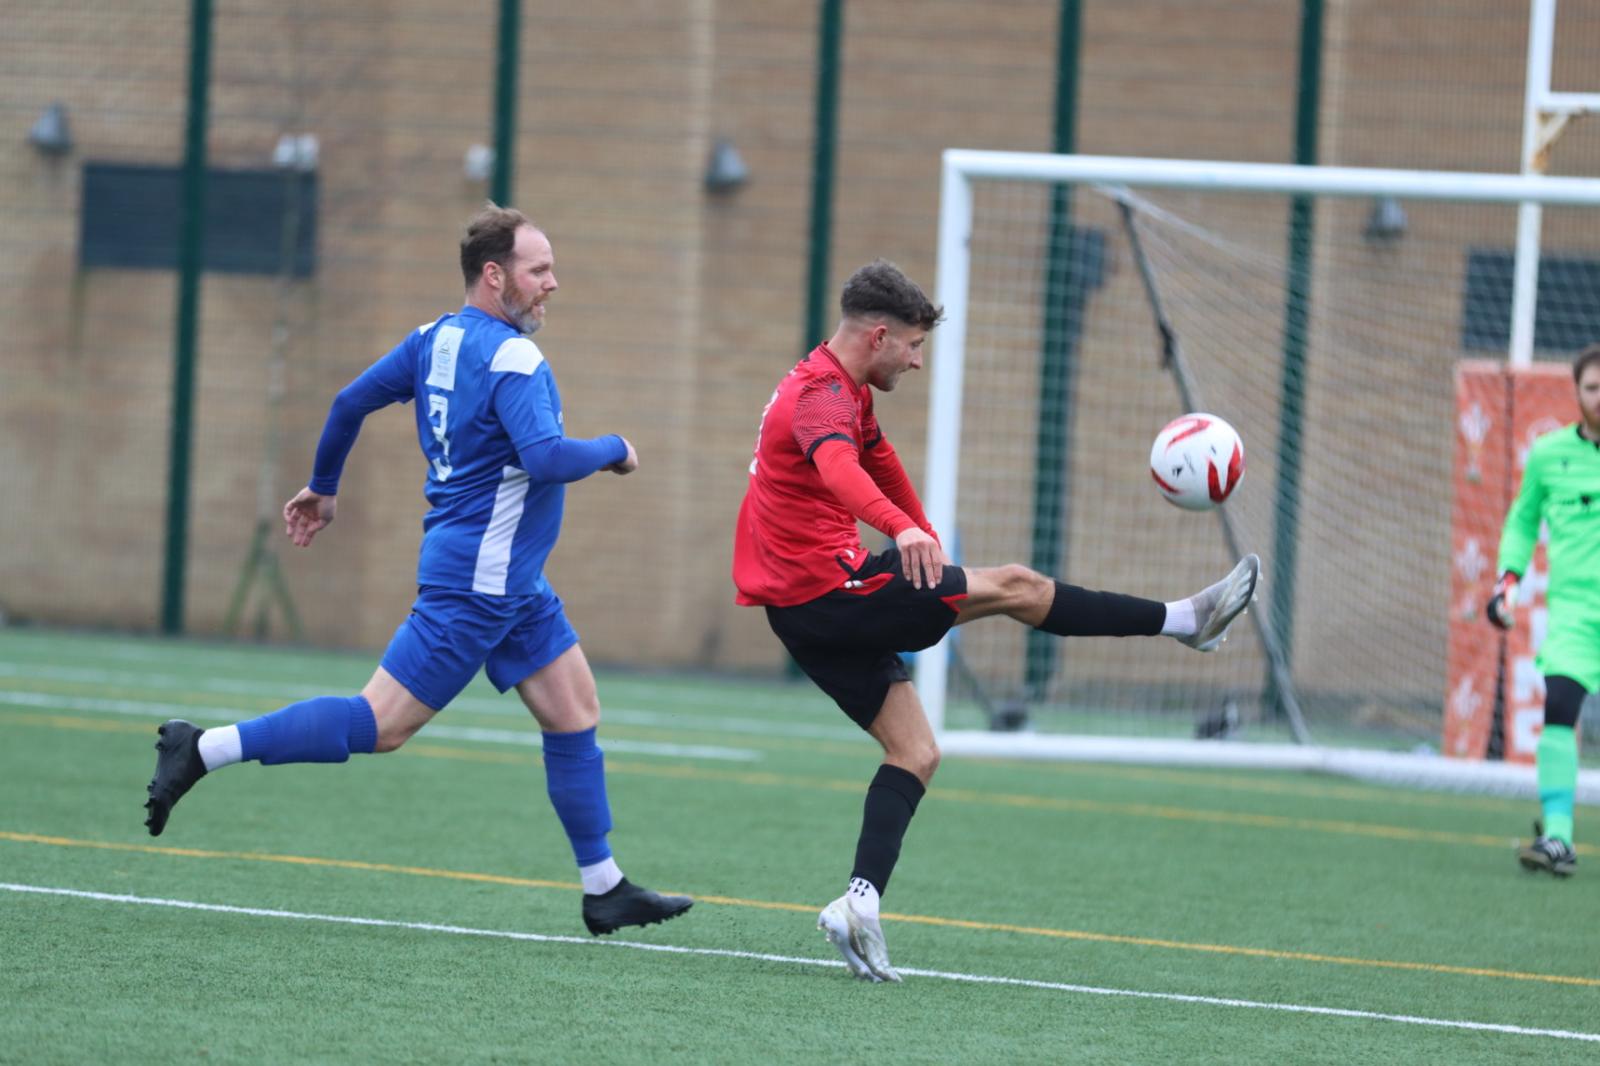
Adams was then on the scoresheet again to make it three for his side in the 67th minute, before Wilkes rounded off the scoring with another goal for himself in the 89th minute thanks to an assist from subsitute Liam Williams.
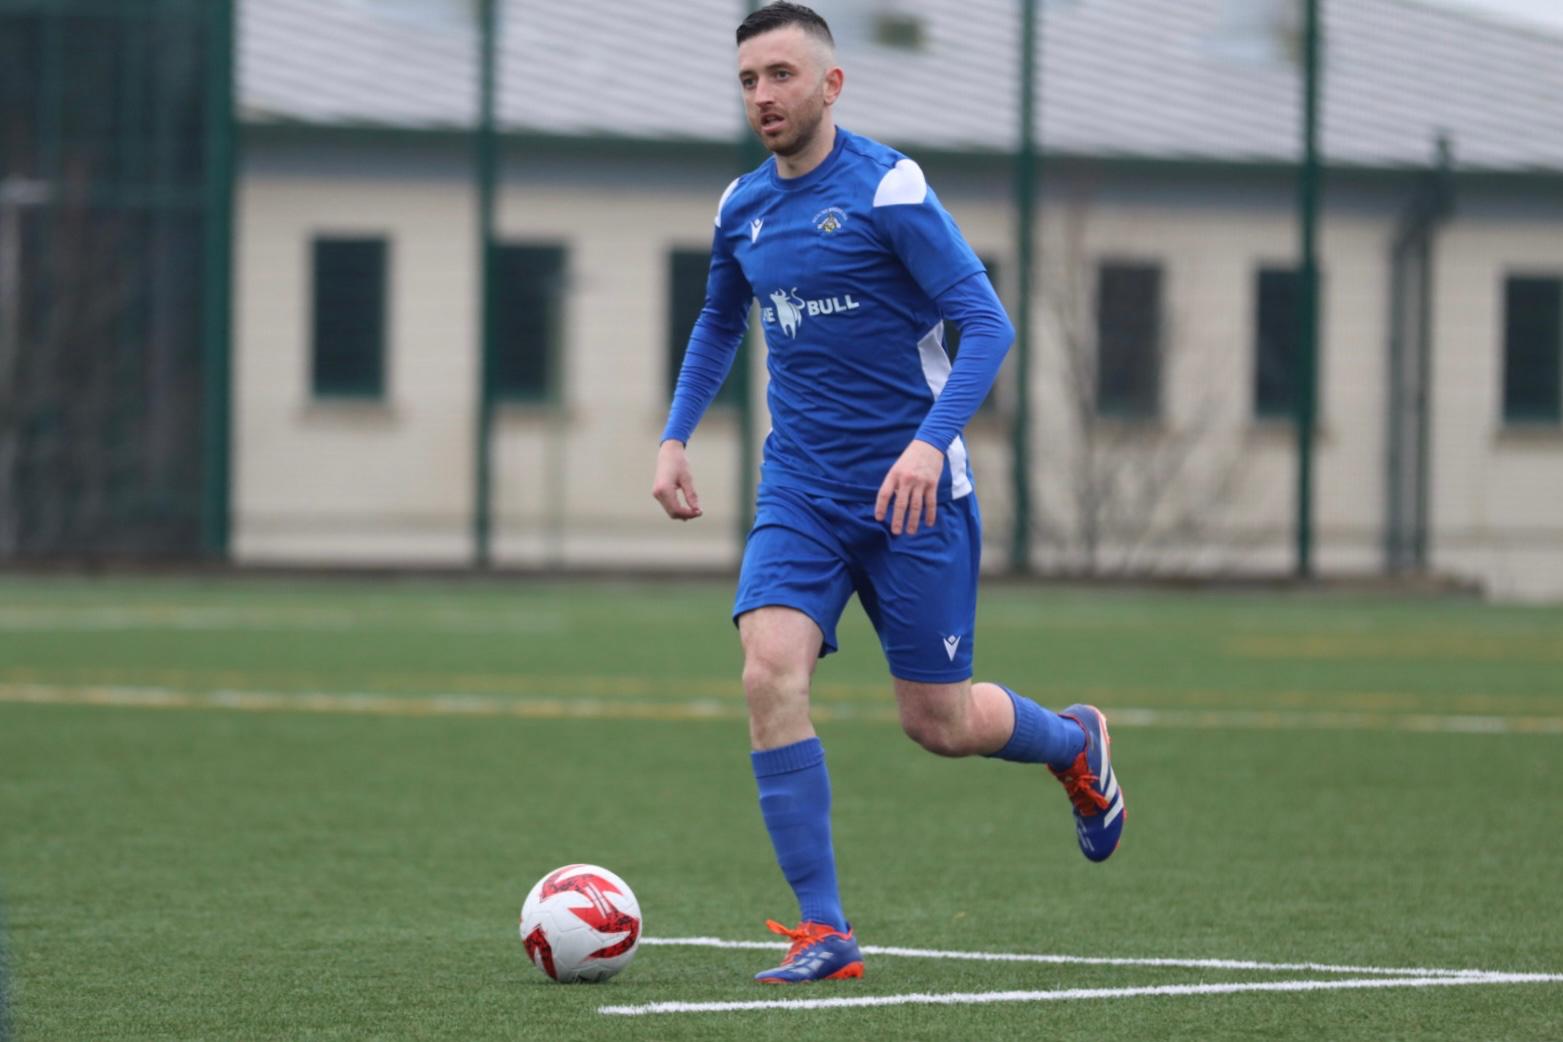
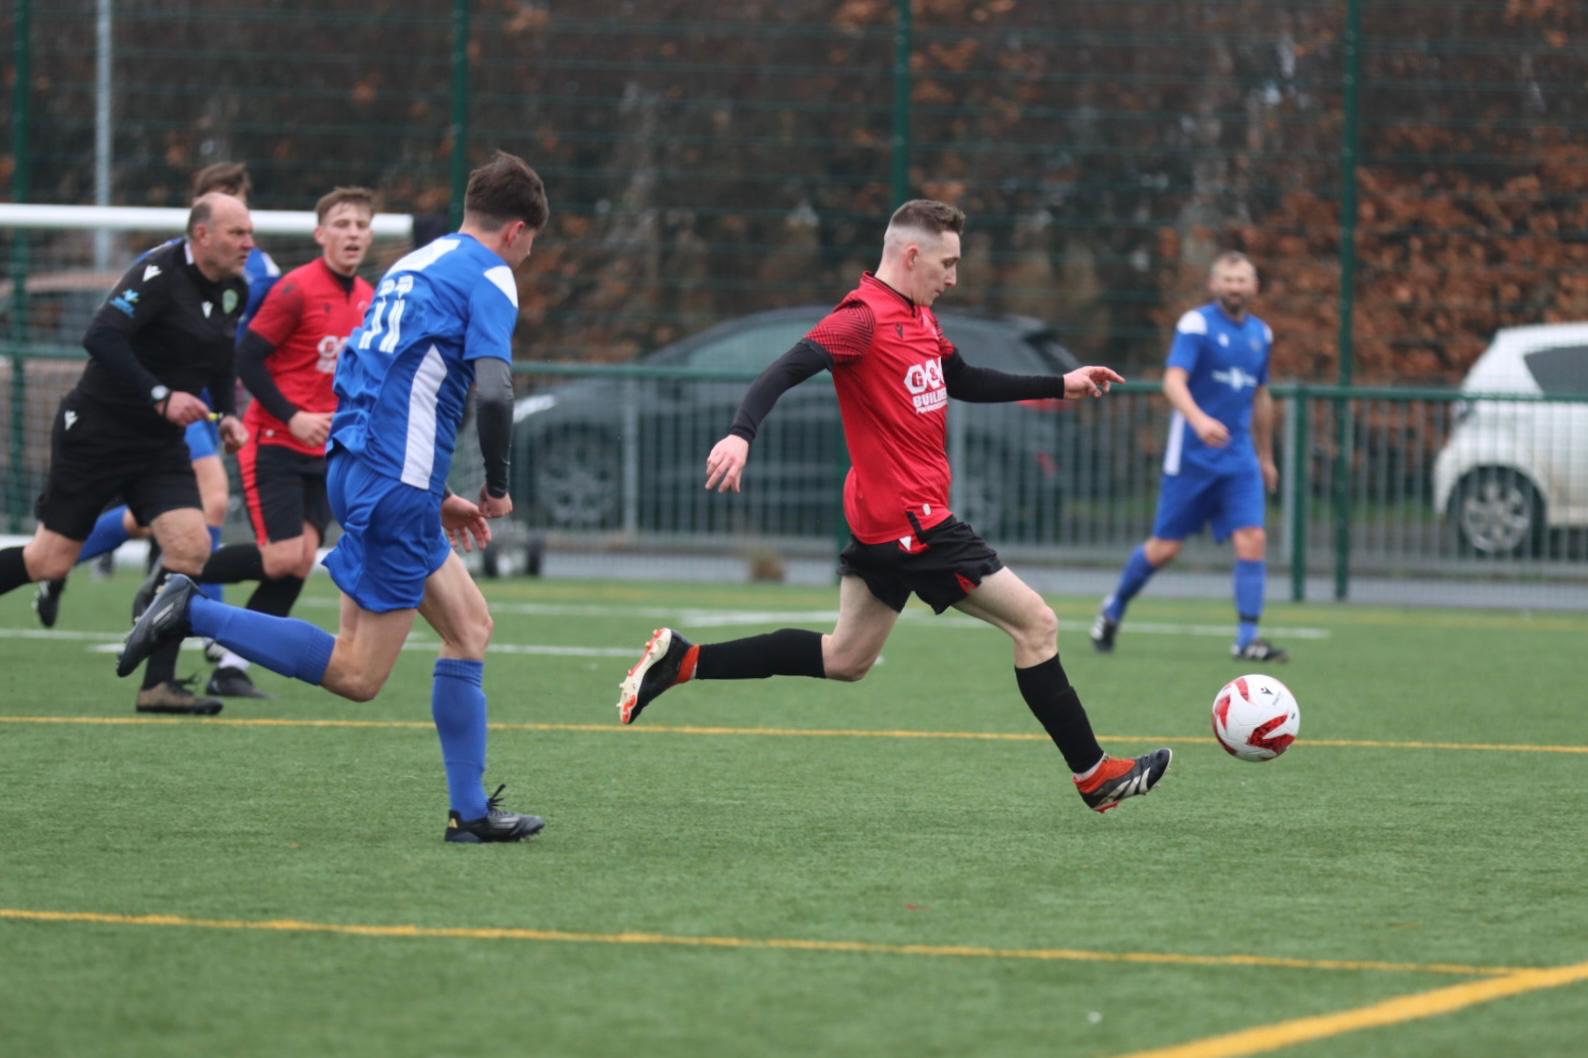
The win sees Pennar Robins remain in fifth place, a point behind third-place Clarbeston Road but with four games in hand.
Merlins Bridge lie in 8th place with 20 points, but also have games in hand on those below them.
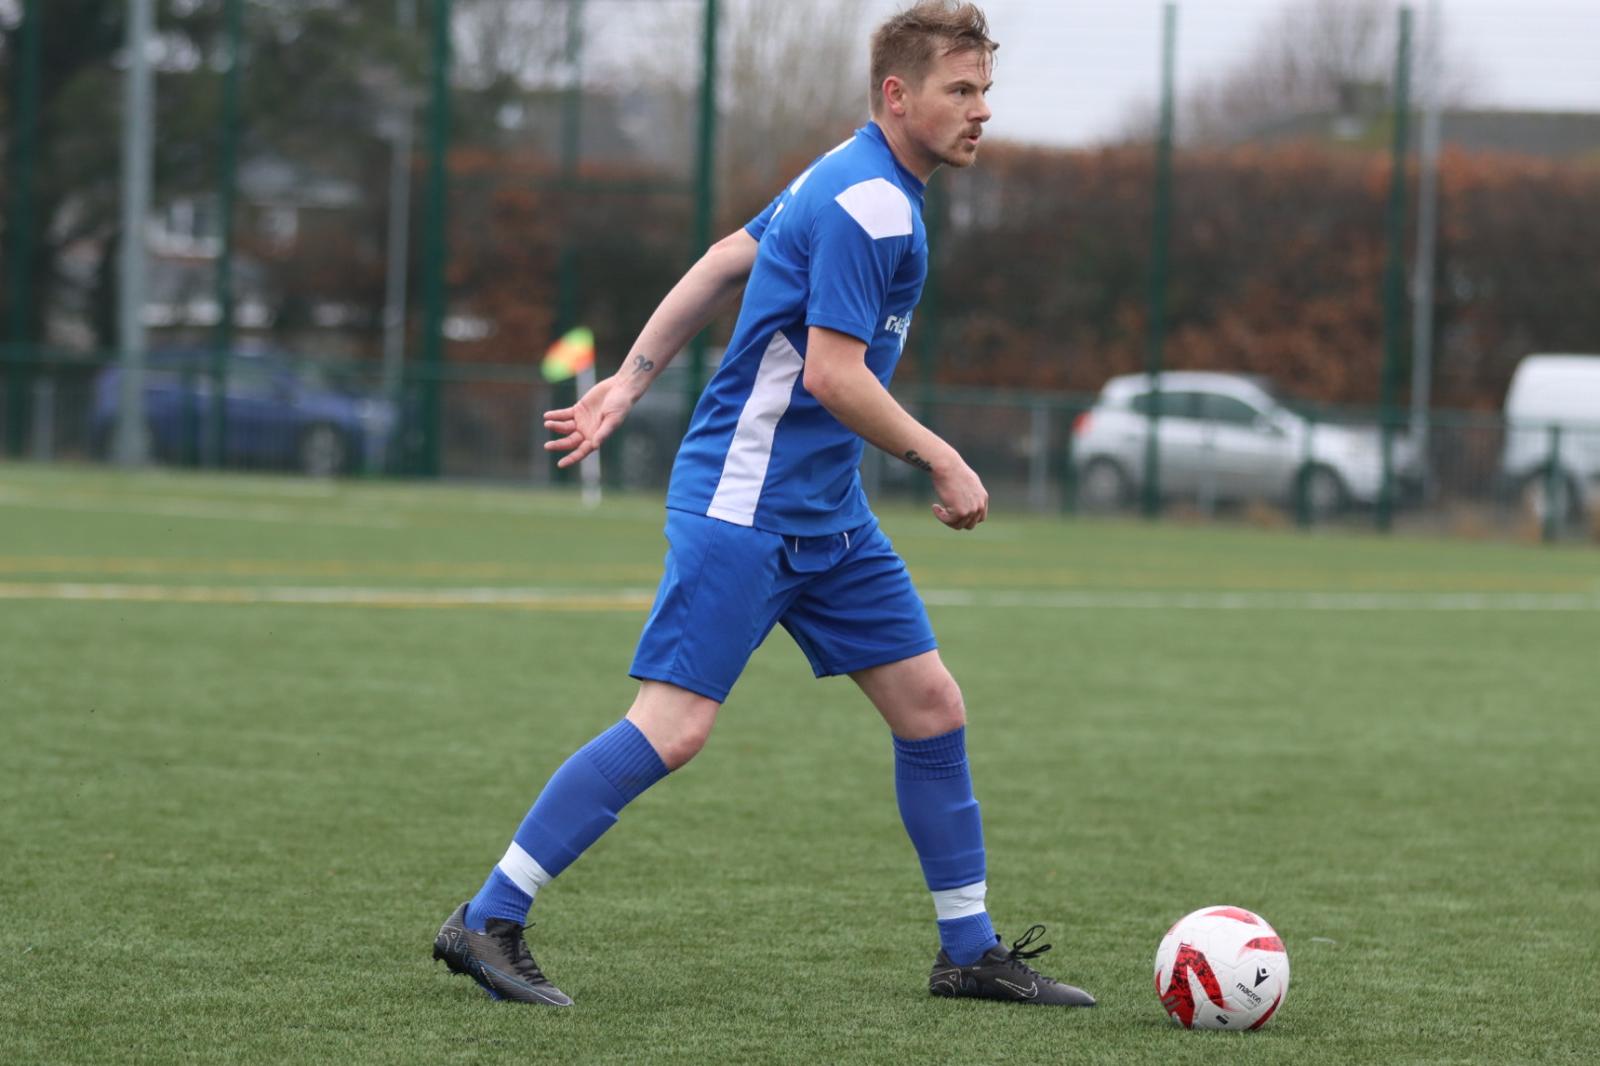
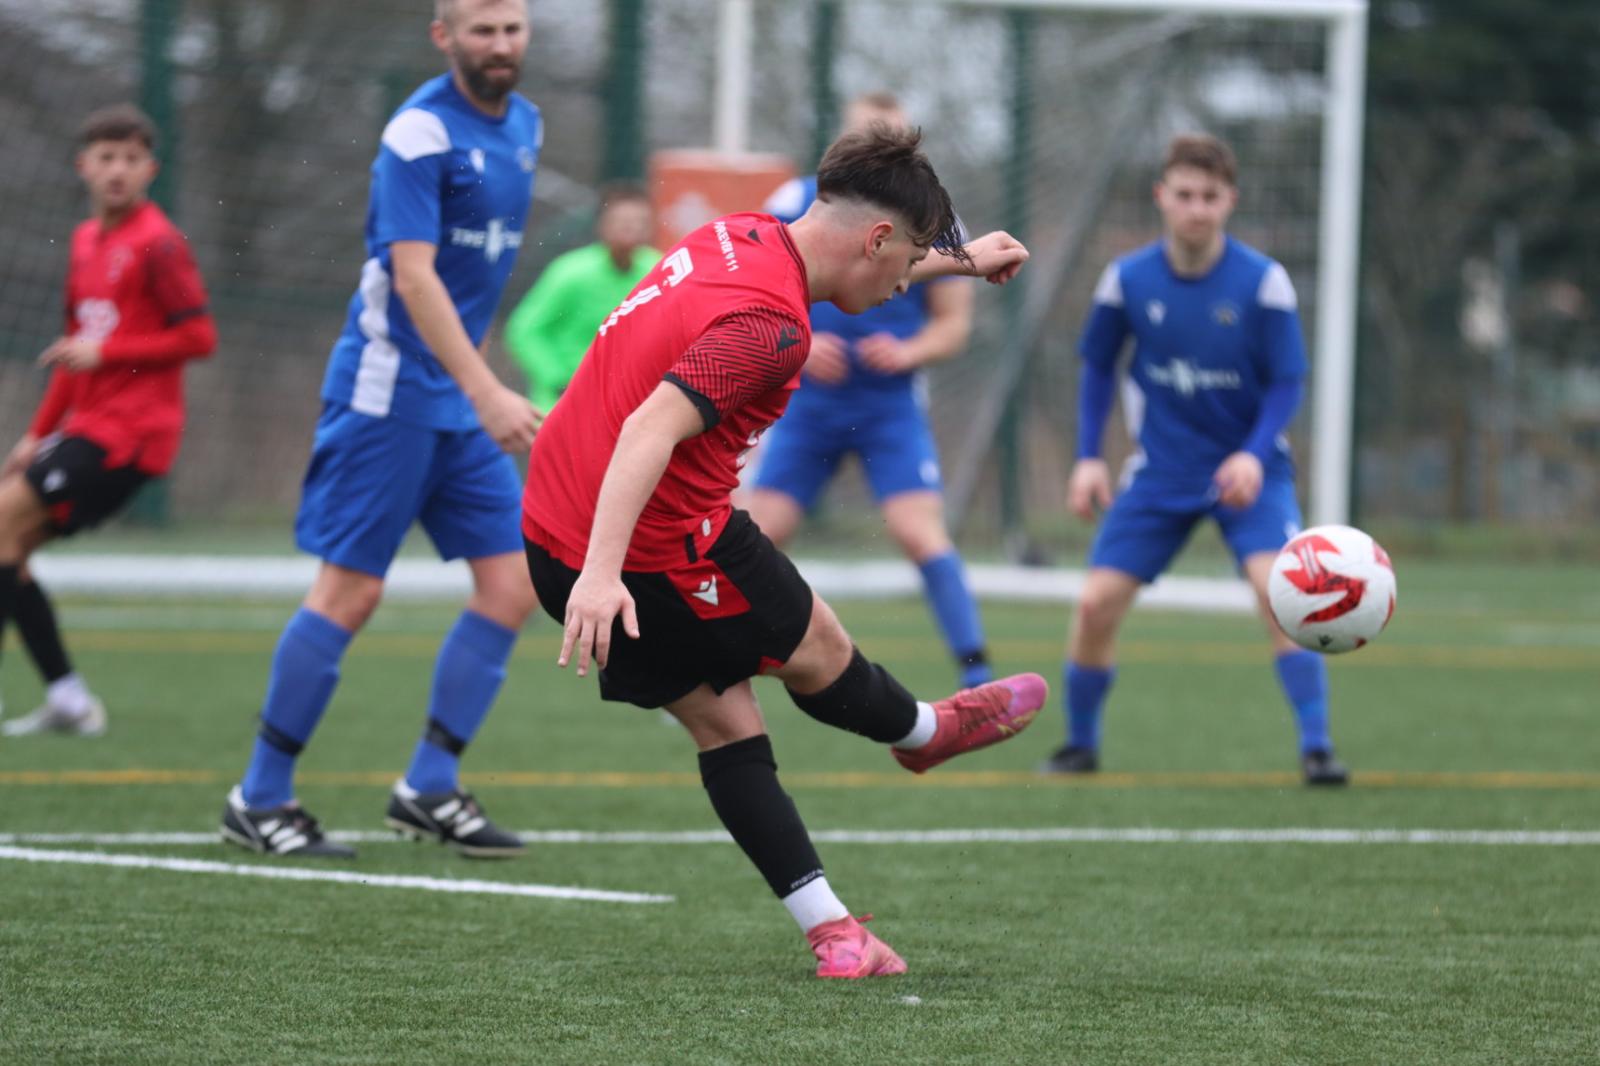
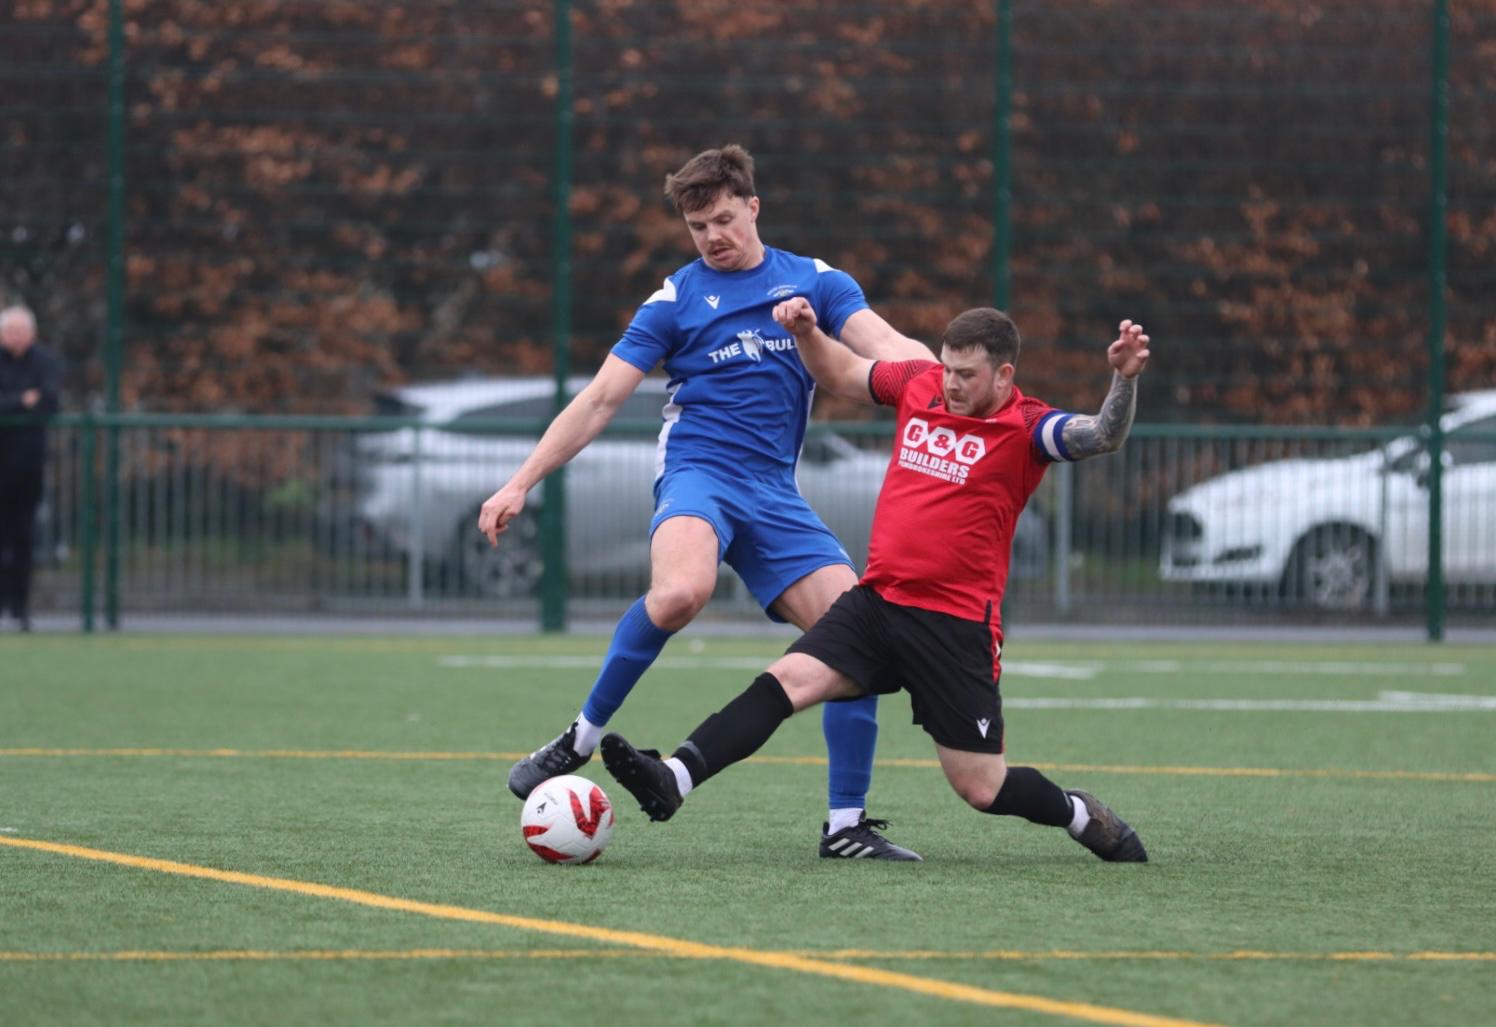
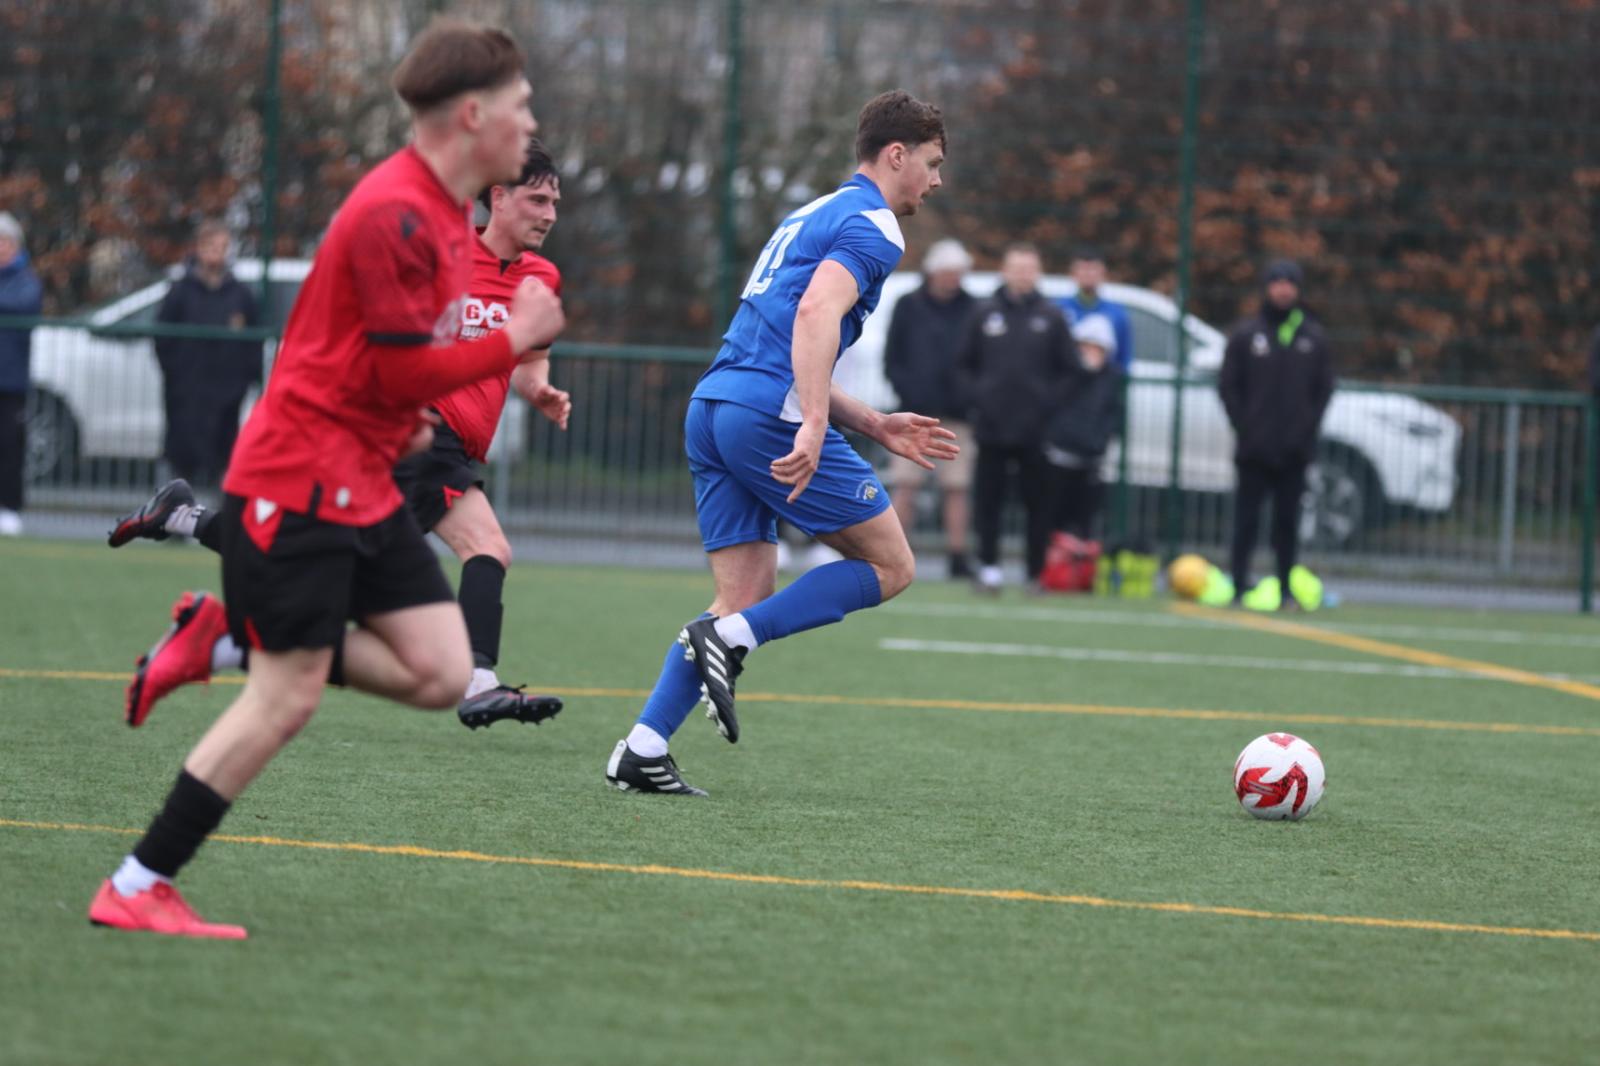
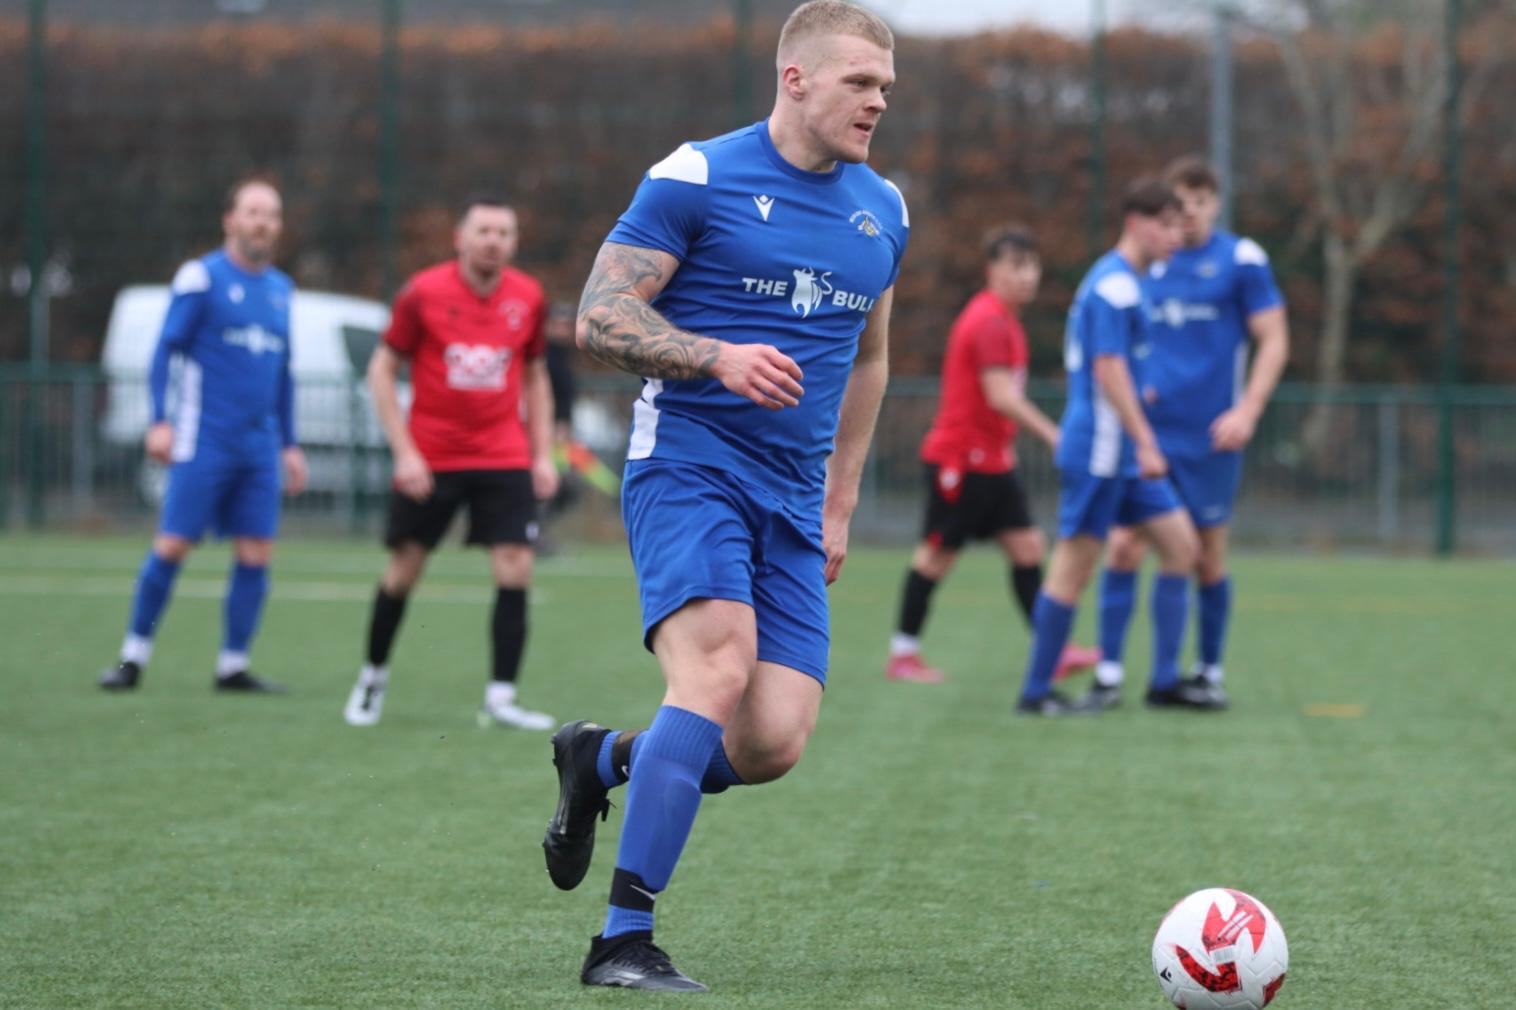
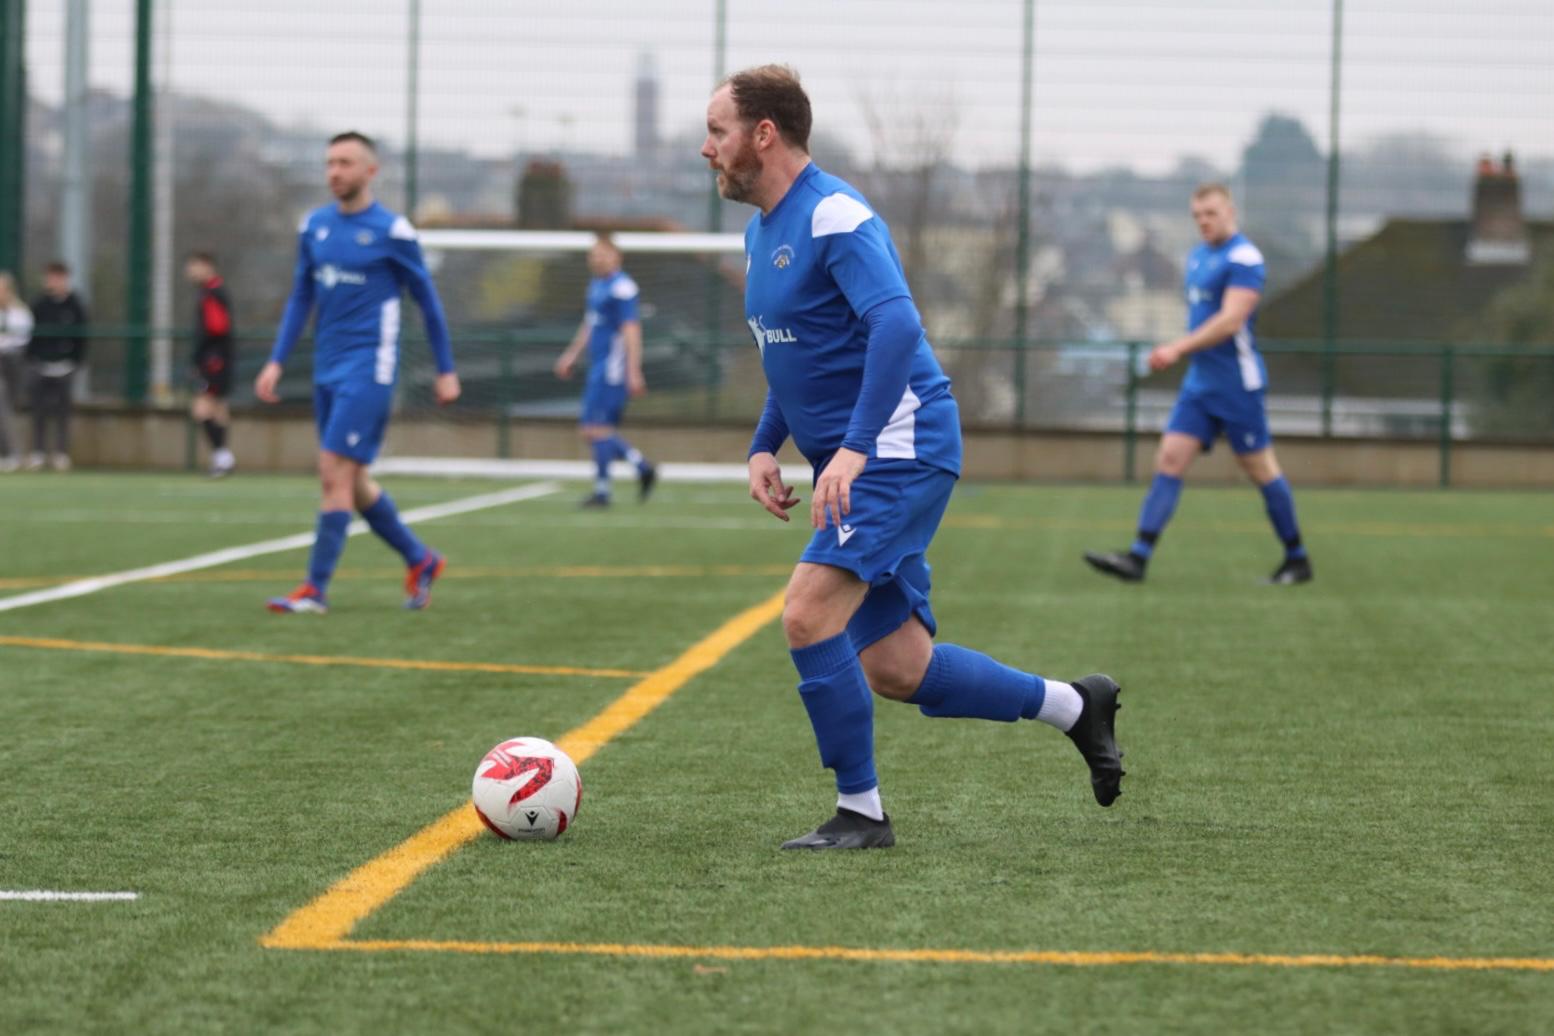
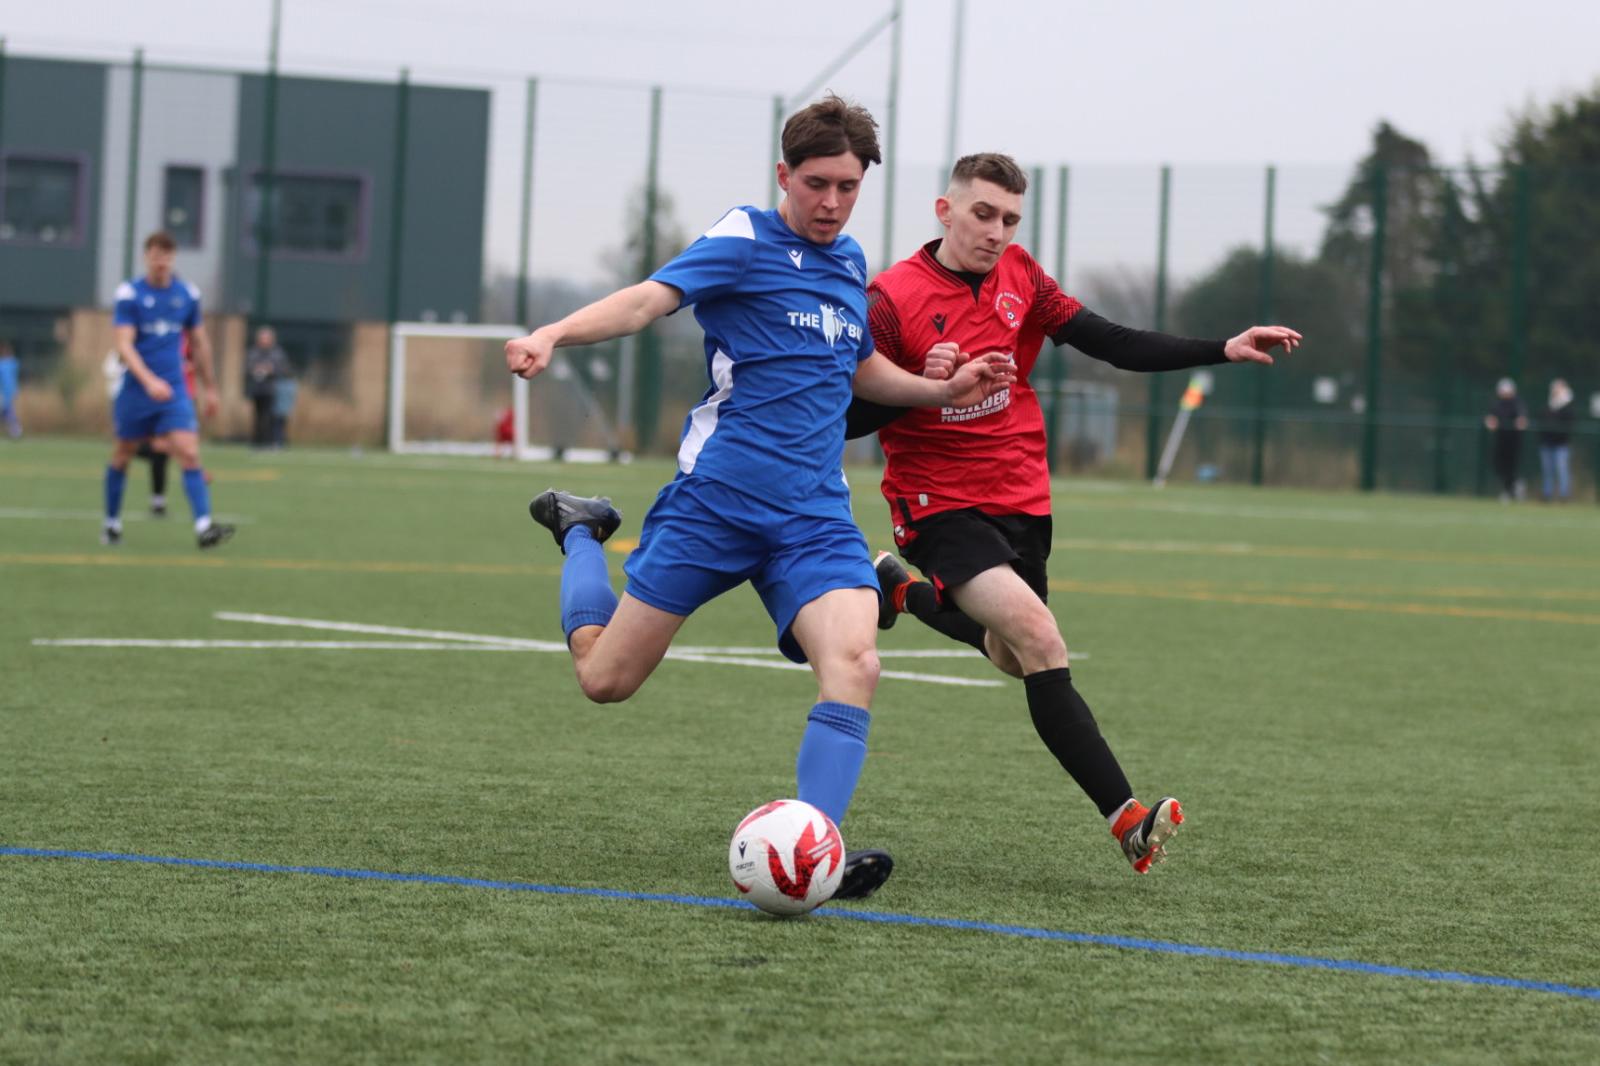
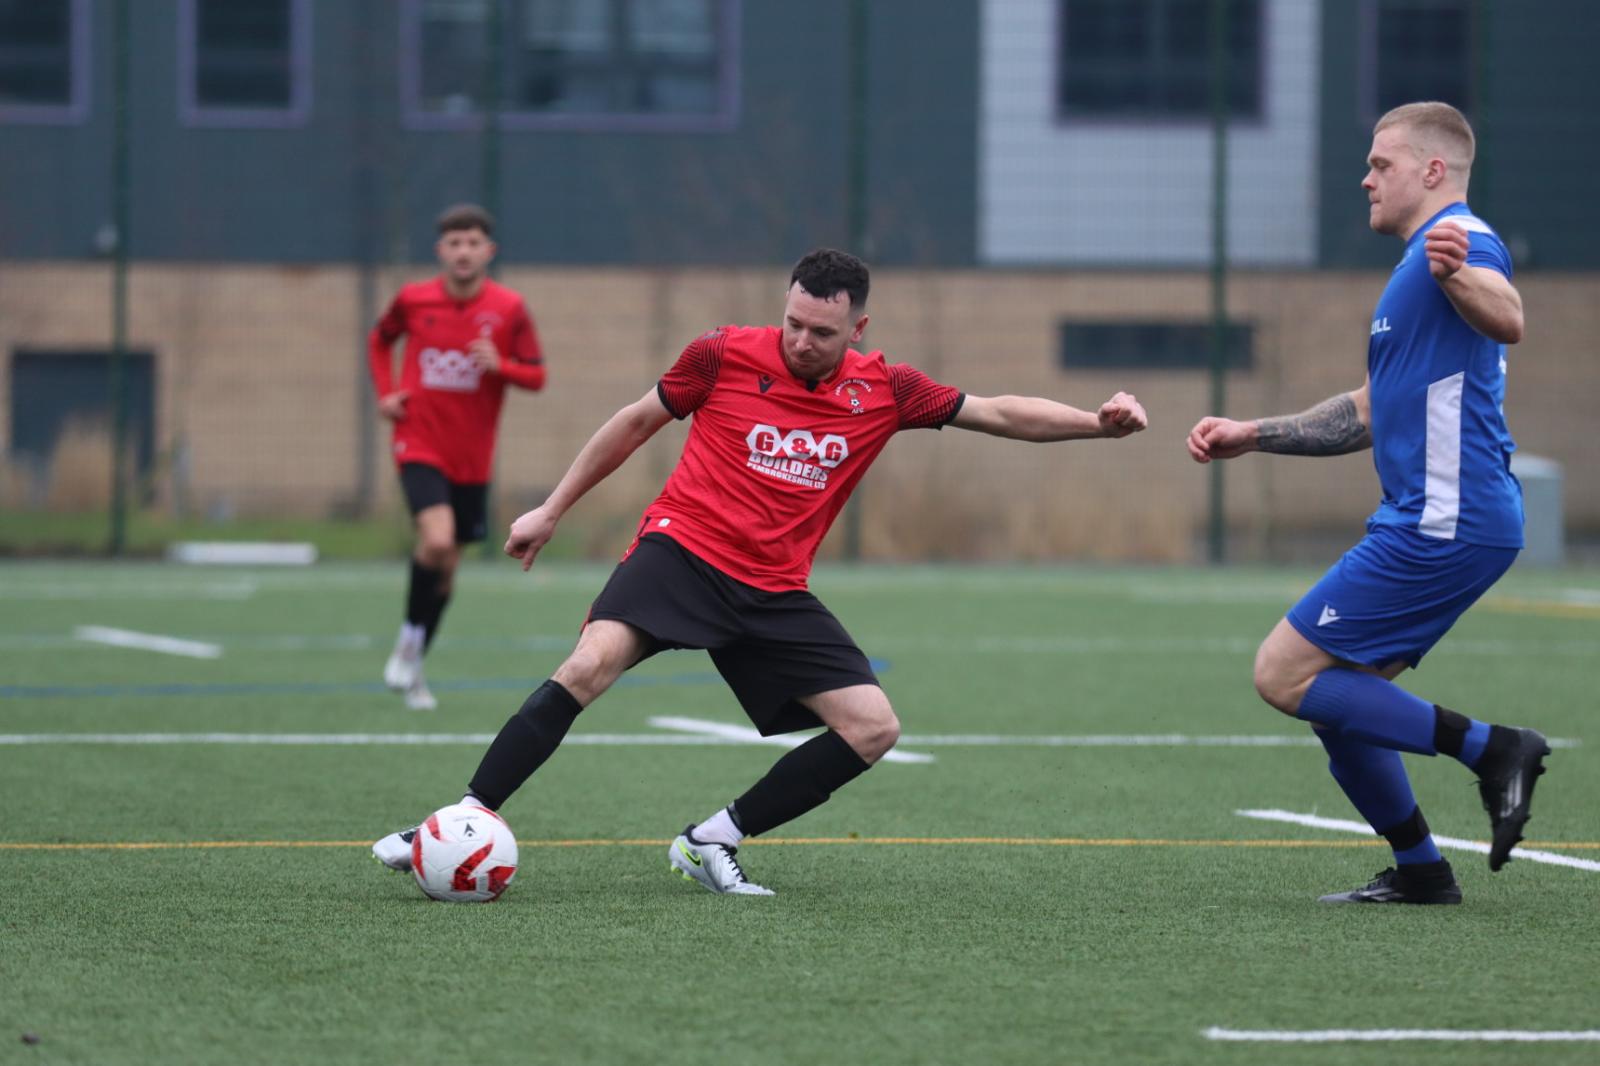
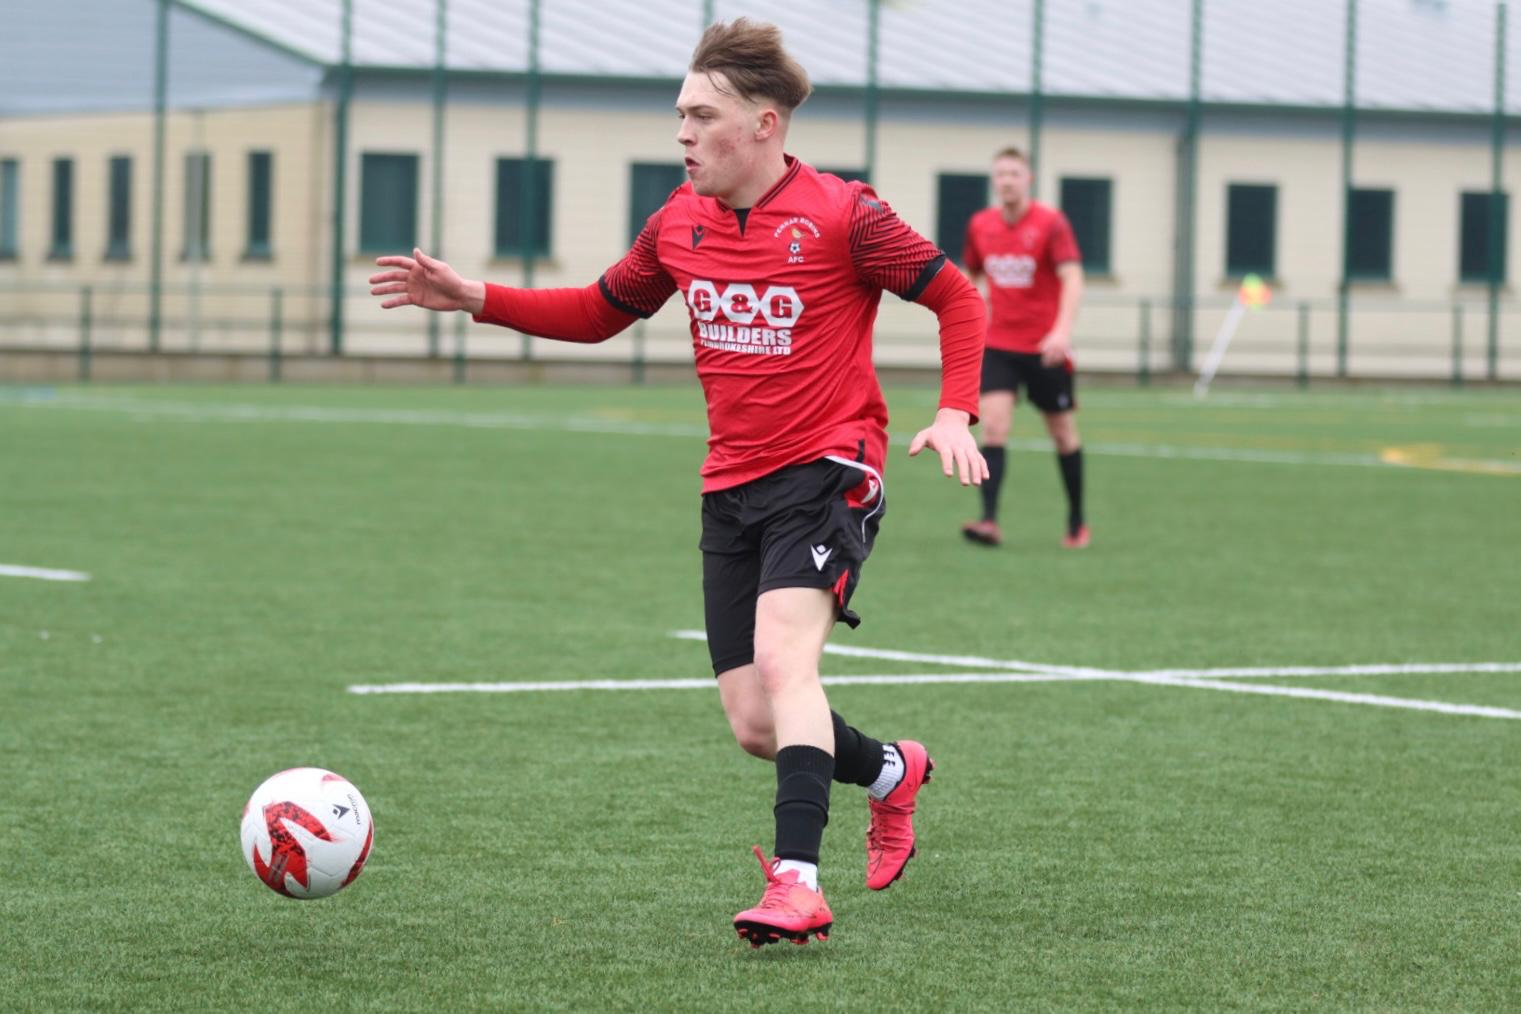
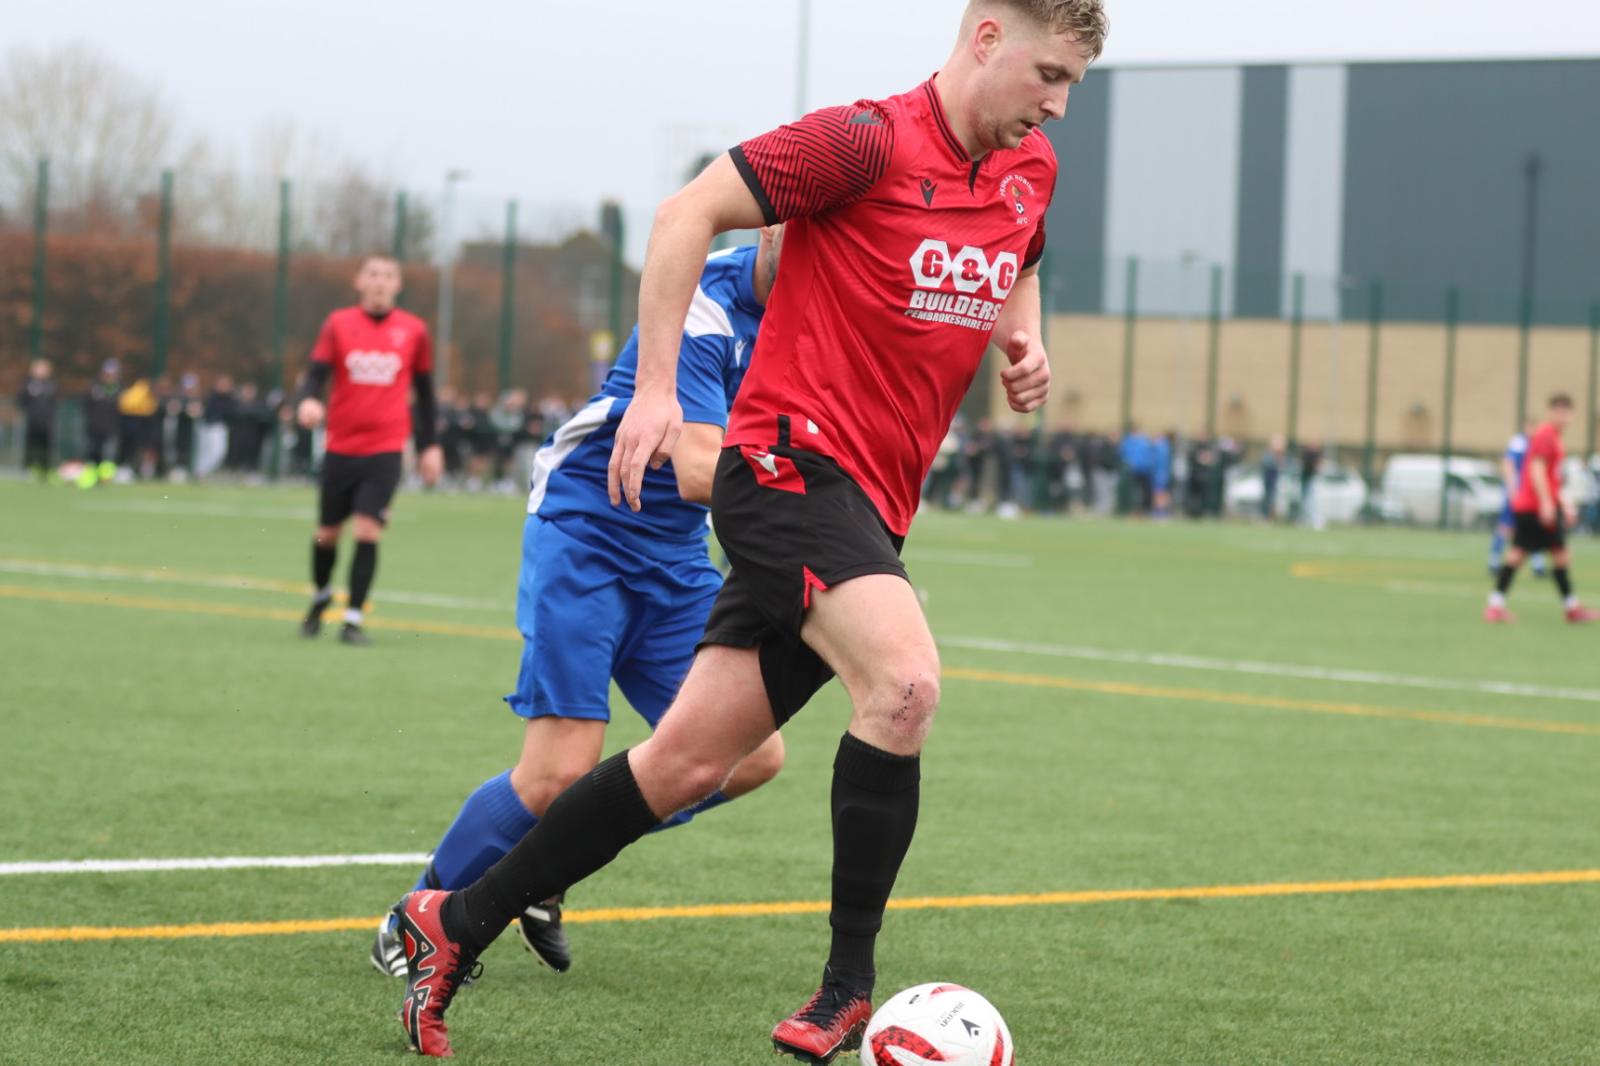
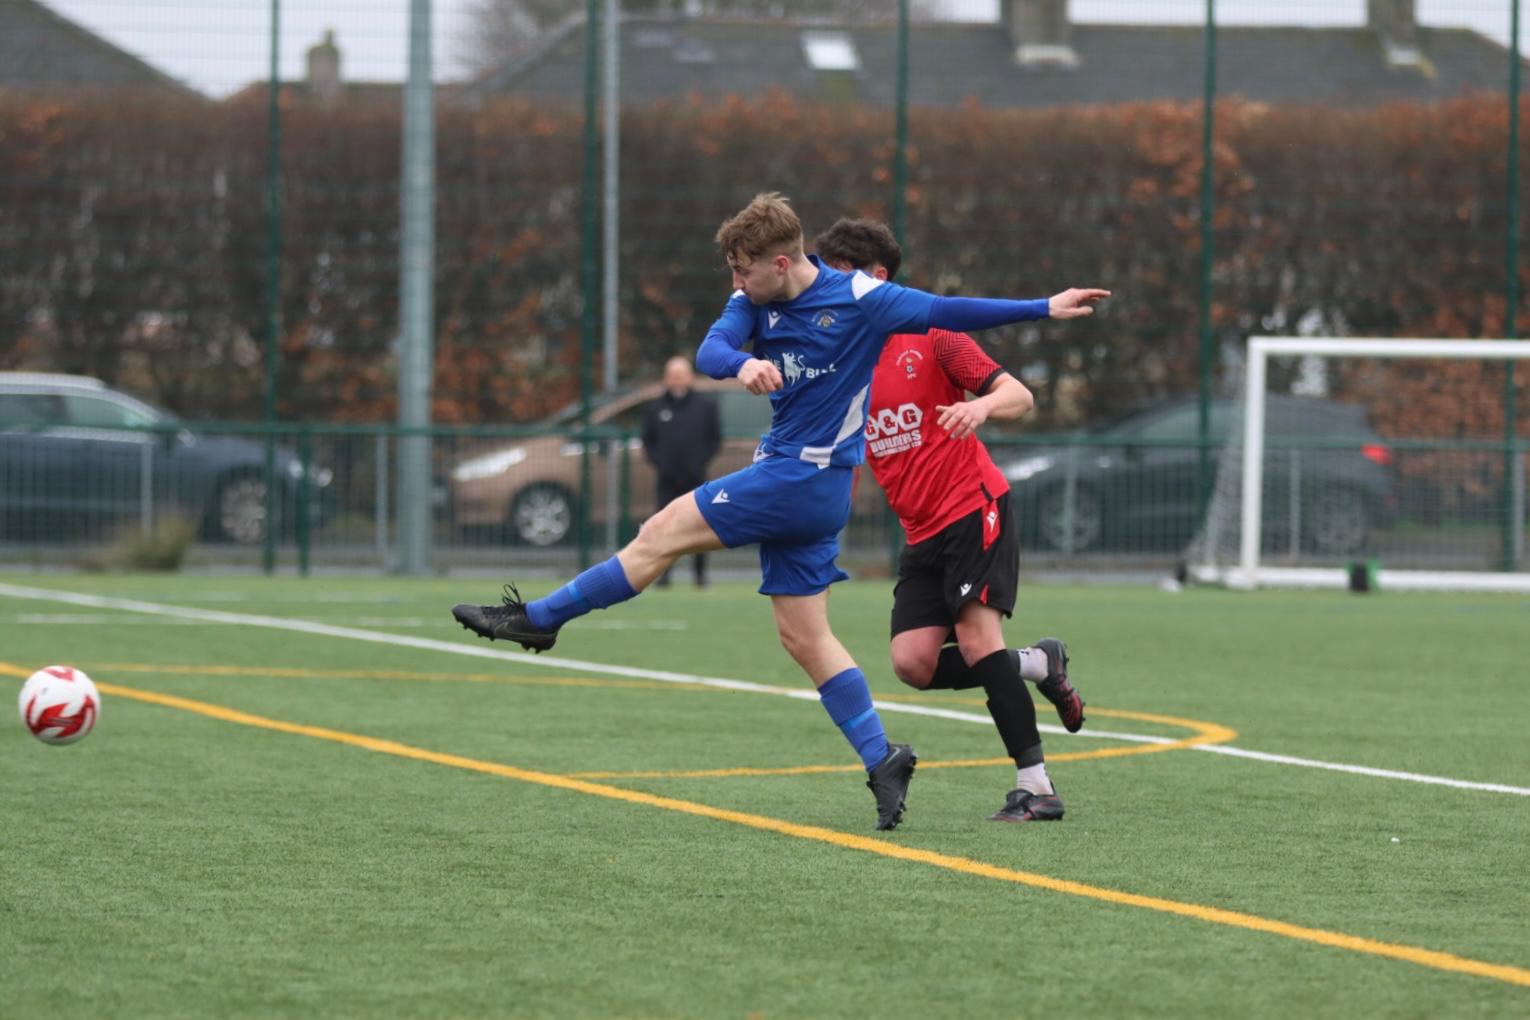
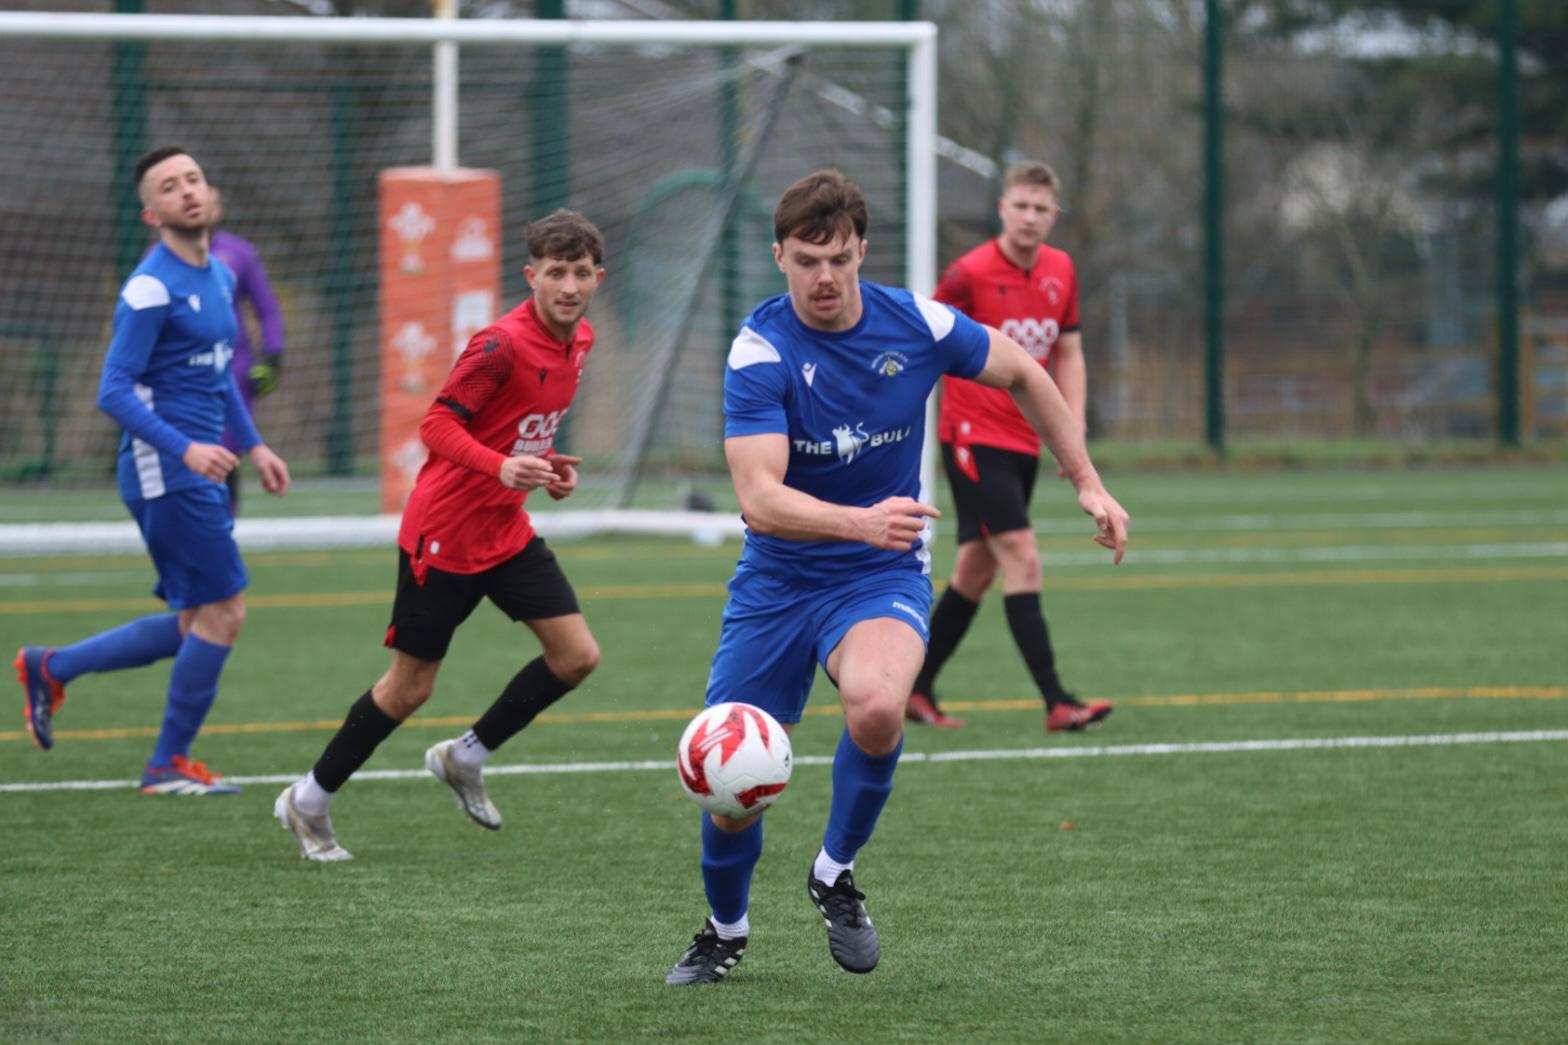
Match Photos from MW10 Sports Photography.
Photo Gallery (click to view in full)